

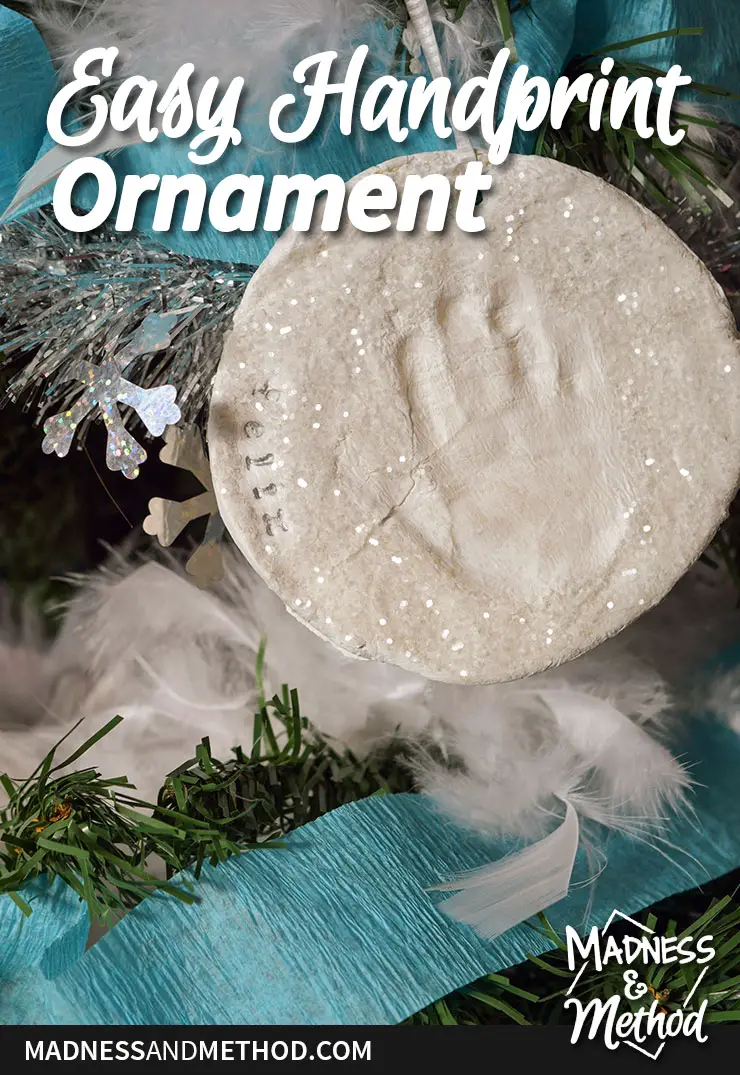
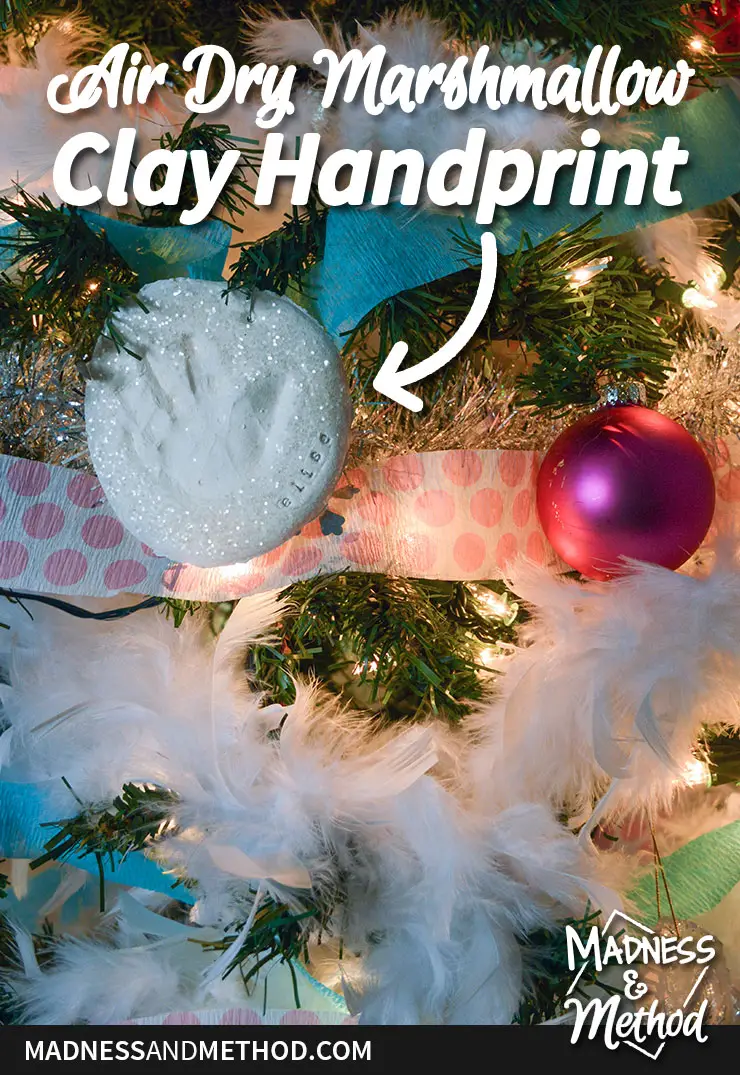
Did you recently have a baby and want to create a memory for your Christmas tree? Or maybe, you have a new pet, a new house whatever! Today Im sharing the simple recipe and steps to create an air-dry marshmallow clay handprint ornament. And you could totally use it for a general keepsake (and not just a hanging ornament!).
Note: This post contains affiliate links. See more information about affiliates here.
Okay, before we even start, I know what youre thinking. Nicole, its January why are you sharing a Christmas post?. I know, I know but hear me out! I didnt actually do this project in time to post about it this past Christmas season, but its a good one! I figured it would be easier to get it out of the way now, then forget about it in 11 months.
So here we go with a bit of a backstory!
Way back in 2016, Zacharys god-mother gifted a handprint ornament kit. It came with its own air-dry marshmallow clay, was super easy to use, and basically did what it was supposed to do.
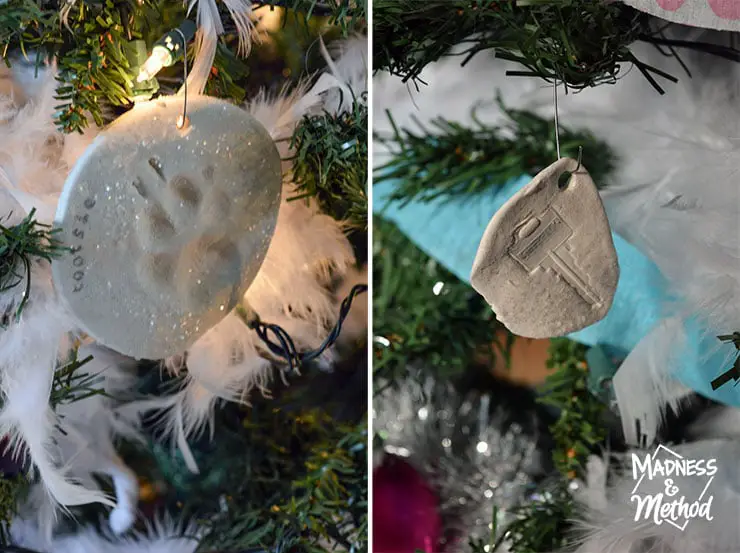
Even though we used all the clay (I made Zacharys handprint, Tootsies paw print, and even a mould of our house key). I kept the kit because we still had a bunch of glitter, and the circle cutters, etc.
Fast-forward to 2018, and I now had a new baby, and wanted to make a handprint for her too. All I needed was to mix/buy some new clay, use all the stuff, and it would turn out the same, right!?
Marshmallow Air Dry Clay Recipe
After two tries, I ended up finding a good DIY air dry clay mix, so Im sharing it here!
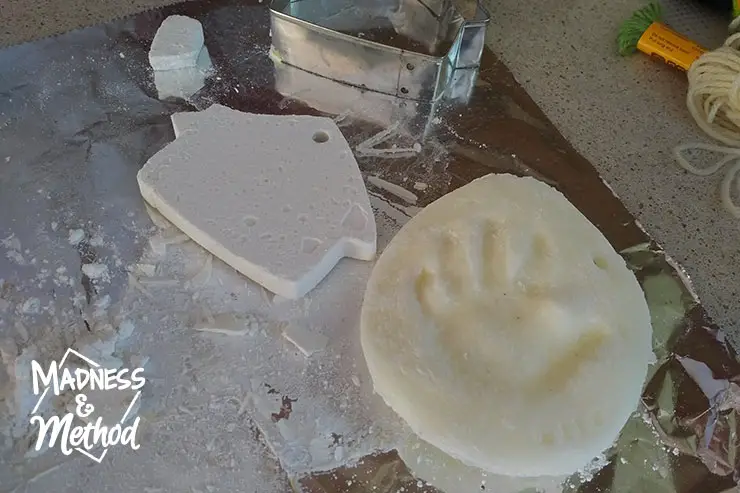
I first searched for and found this general air dry clay recipe. Not sure if my mix was off, but I could NOT get the clay to make a handprint. In fact, I couldnt even get it to stay in the circle shape once I took my mould out.
So instead, I just had the clay air-dry in my house cookie cutter, then painted it for a new house ornament. (You can see what it looks like in this post about decorating a Christmas tree).
What I really needed was a good marshmallow clay recipe (what was called for on the original handprint ornament kit). And I came across this detailed one, and this much simpler one (both created by the same person).
SO, heres what I came up with:
- 1/4 to 1/2 cup of Elmers Glue-All
- 10-ish mini marshmallows
- 3-5 TBSP of cornstarch
This recipe makes one 4 diameter ornament.
DO not substitute your cornstarch for anything else (like icing sugar), or your clay wont fully harden. I did that this year (thinking I could combine both recipes) but it didnt work out.
Supplies You May Need
- For the mix: Elmers Glue-All, mini marshmallows, cornstarch
- OR buy a similar air dry clay (I havent used this method)
- White craft paint and a paintbrush
- Glue and glitter
- Mini letter stamps and gel pens
- Circular cookie cutter and a straw for the string
- Ribbon to hang it
Essentially, heat up the glue and marshmallows in the microwave for a few seconds. Stir and reheat as needed until all the marshmallows are combined. Add the cornstarch one tablespoon at a time, until a nice non-sticky dough is formed.
Roll out the dough on a cornstarch-ed surface, put the handprint/shape in, then cut out the shape you want with a cookie cutter. If making a hanging ornament, make sure to also make a little hole for the string (a straw works great for this).
Feel free to also imprint any names/words with little stamps.
Decorating Your Handprint Ornament
Once you have the handprint done, allow it to dry for a long time (like overnight). I found it was best to flip it over every few hours so both sides would dry evenly. If its been more than 48 hours and your ornament is still goopy/malleable, you may need to restart from scratch.
(Although that only happened to me when I tried using icing sugar instead of cornstarch).

Anyways, youll notice that your handprint ornament is kind of beige-looking. To match the others (and cover and potential see-through areas), I gave the ornament a quick coat of white craft paint on both sides.
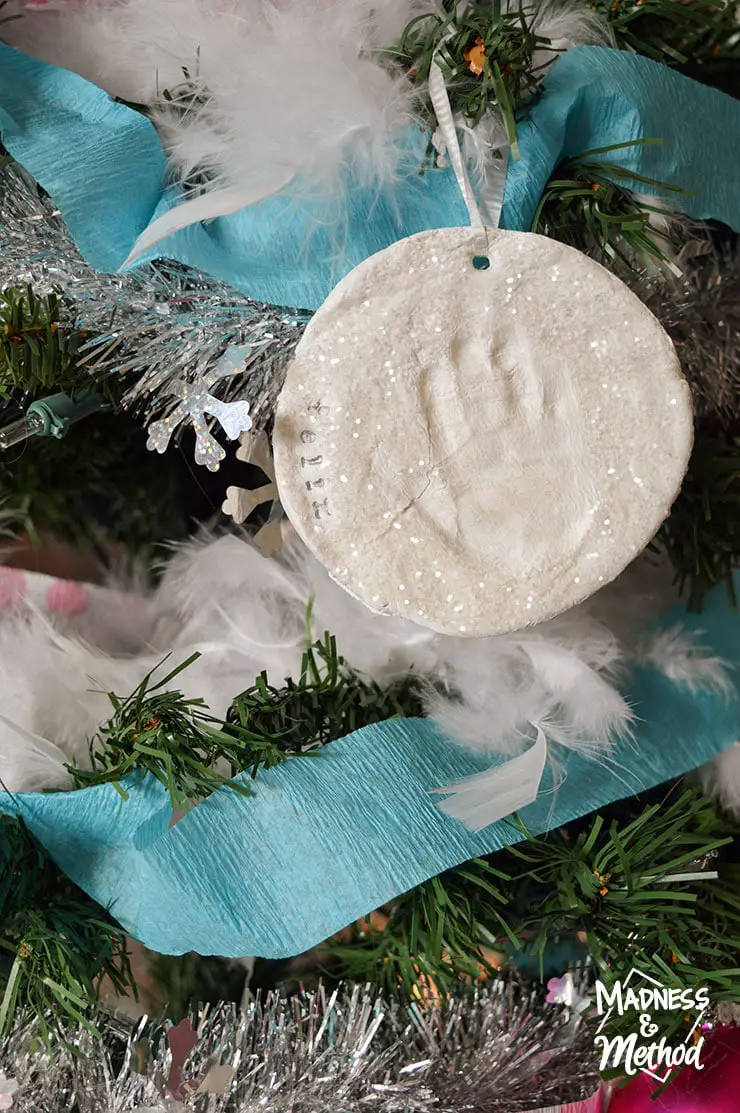
I also coloured in the stamped names with a silver gel pen so the letters would stand out.
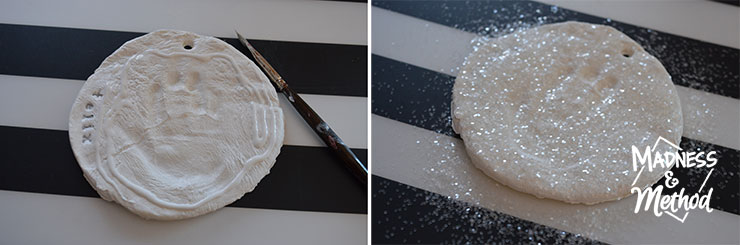
Once the paint was fully dry, I brushed on some white glue (photo on left is the glue that still needs to be spread evenly). The glue went on the raised portion only (so not the handprint or letters). Then simply sprinkle on some glitter, then tap the ornament sideways to let the loose glitter fall.
Hand Print Ornament Options
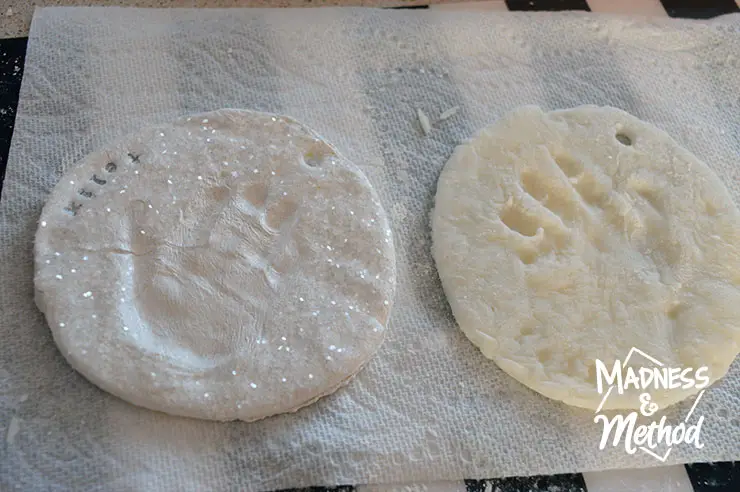
And heres the before and after! Essentially, you could paint/decorate your ornaments however you like I just chose to make them all the same based on the original kit. Other options could include painting the handprint a different colour, not using glitter, etc.
I just tied a simple ribbon through the hole (or used an ornament hook), and they look great in the tree!
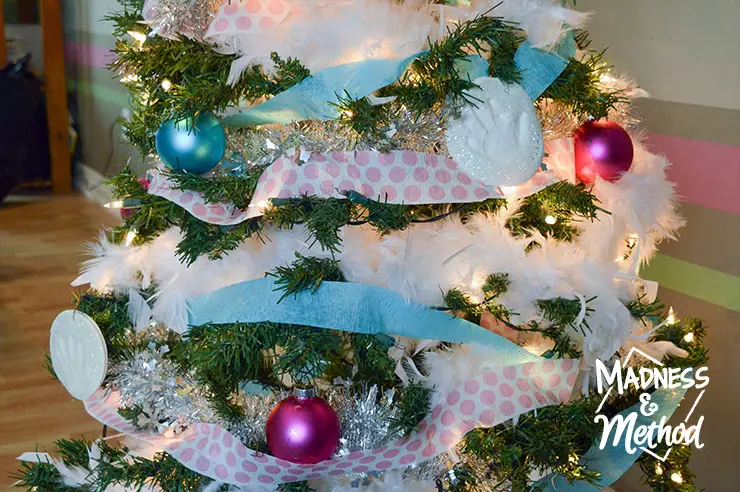
Now we have one for each baby and I like that the marshmallow clay wont shouldnt break if little ones get rough. (Compared to the other clay recipe I tried, which feels like it would make a million pieces).
Theyre also a lot lighter in weight than the other clay recipe, so thats good too! The original kits handprints are super lightweight but Im not sure of the exact mix that was used.
Hopefully, youll forgive me for sharing a Christmas-themed project in January, but I shared some of the steps on Instagram Stories and figured that the full tutorial would be good for the blog too.
If you read to the end and are excited about getting a handprint done for your little one, be warned that actually doing the handprint will most likely be the hardest part :) Especially if you have a really new baby that tends to clench their fists a lot!
Oh, and I also do a monthly handprint poster if you want a similar keepsake, but not Christmas-tree specific.

The post Air-Dry Marshmallow Clay Handprint Ornament appeared first on Madness & Method.