#craftingwithkids #workfromhome #learnathome #learningathome #creativelearning #kidscrafts #kidscrafts101 #createandeducate #backtoschool #backtoschool2020

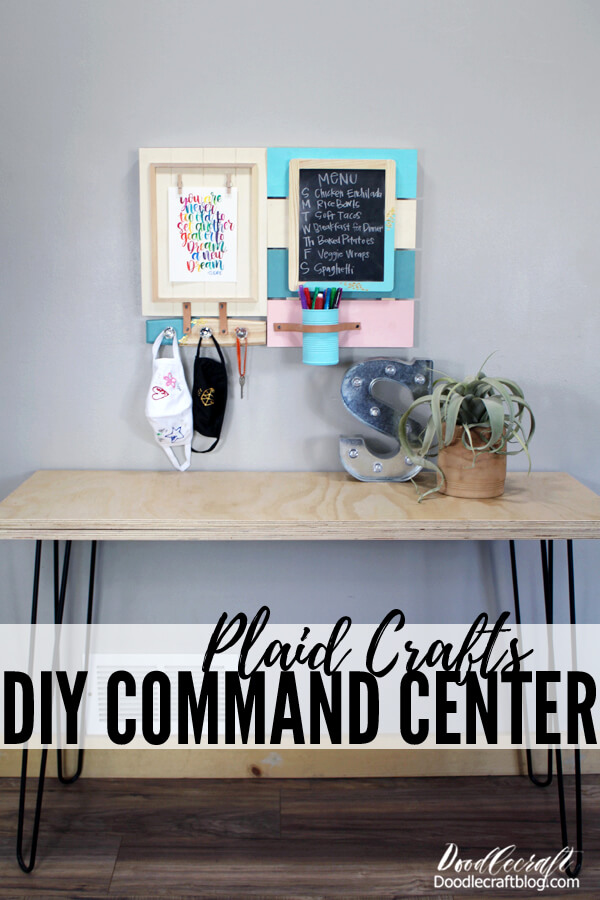
DIY Command Center for Back To School with Plaid!
What does back-to-school look like for you? This year is such a different year with hybrid schedules, vast numbers of new homeschoolers, virtual schoolers and those trekking back to public school wearing masks and distancing. One thing that is the same across the board--is the need for good organization.

Make a DIY Command Center for all your back-to-school organizational needs using Plaid products. This fabulous command center is great for mother's needing to stay organized and on schedule. It's great for students keeping track of their assignments and homework. Teachers can use it to keep on top of the topics of each day and store some extra masks.
How will you use your command center?
Supplies Needed for DIY Command Center:
- Folk Art Acrylic Paint (Cascade, Conch Shell and Ocean View)
- Treasure Gold Paint (Gold)
- 1x2 board 21 inches long
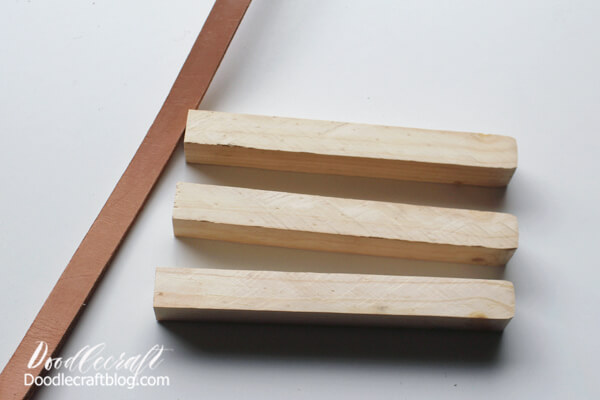
- 1x1 boards 5 inches long (3)
- Small nails and Hammer
- Leather Strip (or ribbon could be used)
- Hook and Loop Closure Adhesive Strip
- Screwdriver
- Painters Tape
- Clean Soup Can
- Hot Glue/Gun
- E6000 Glue

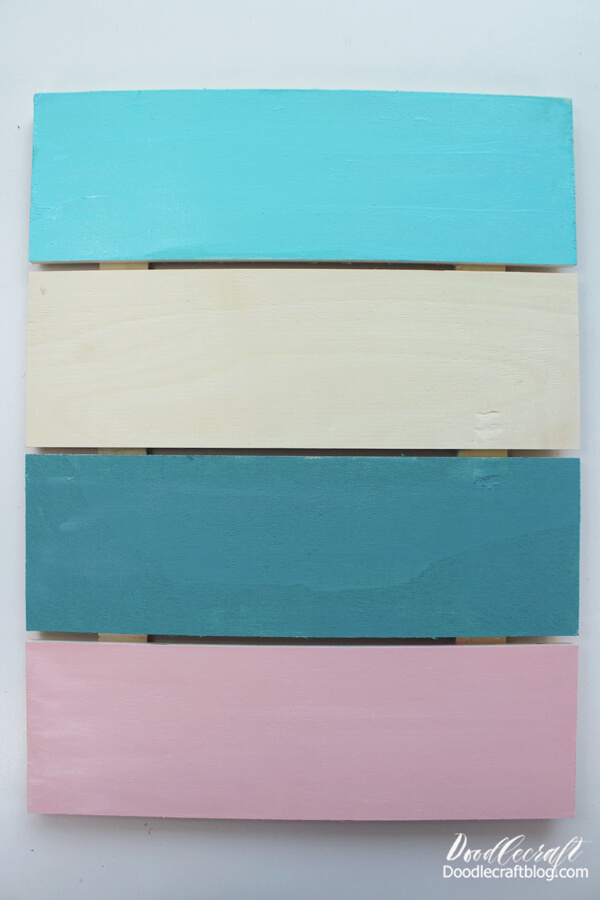
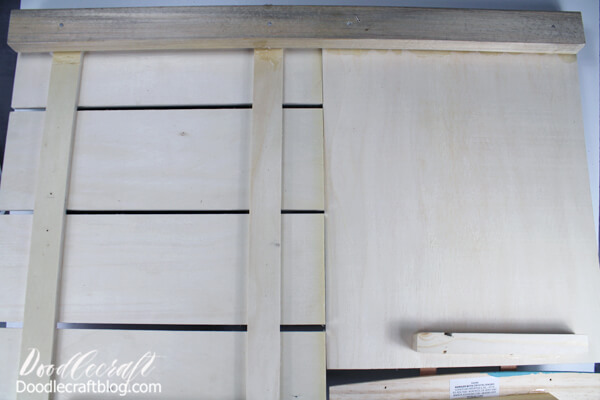
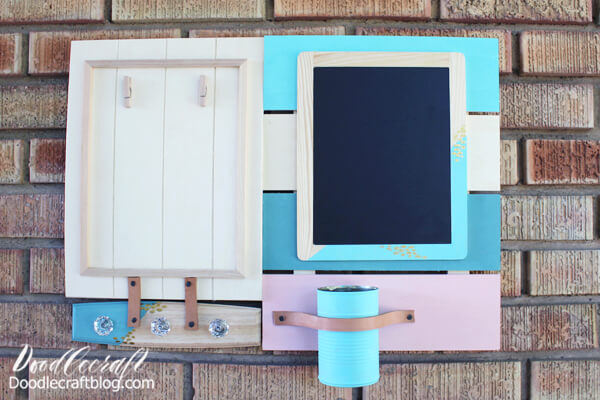
Step 1: Painting the Pallet Plaque
Begin by painting the pallet plaque sign however you like.

I painted the pallet sign 3 different colors, leaving one section natural. Then let it dry.
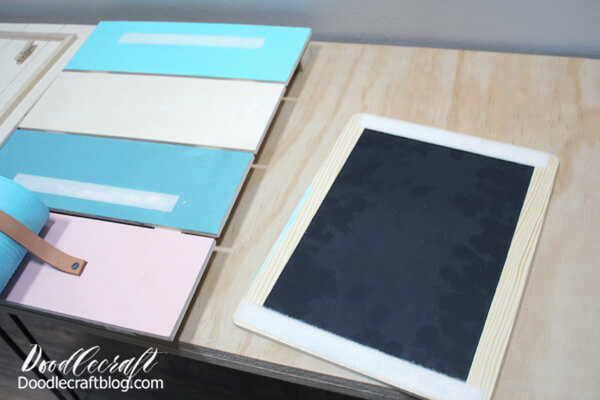
Step 2: Paint the Chalkboard
Next put a piece of painters tape across the chalkboard to mask where the paint goes.
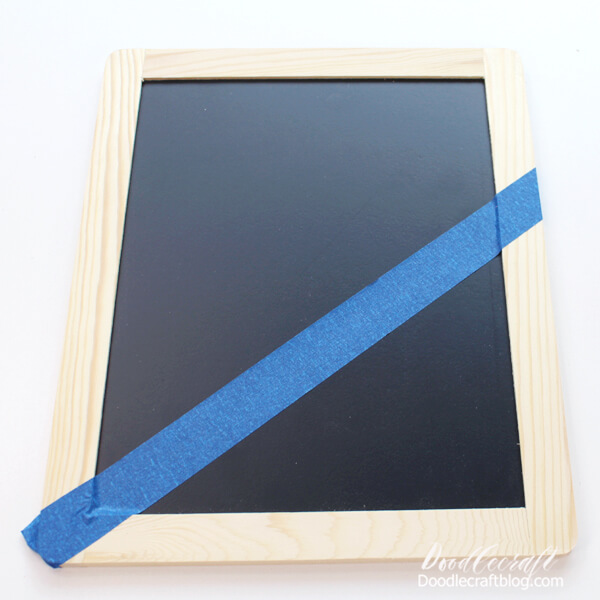
Paint the wood, then remove the tape and let the chalkboard dry completely.

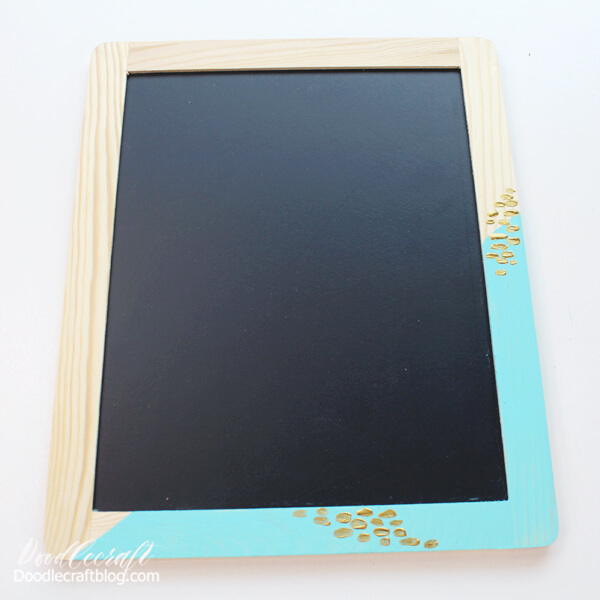
Next, add some touches of Treasure Gold paint for a modern look.
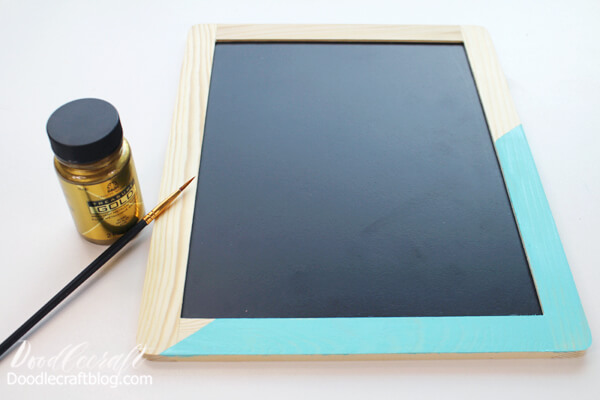
These little golden blobs are perfect for a touch of gold, reminiscent of animal print. Use the paint blobs to cover any places in the blue paint that aren't so perfect.
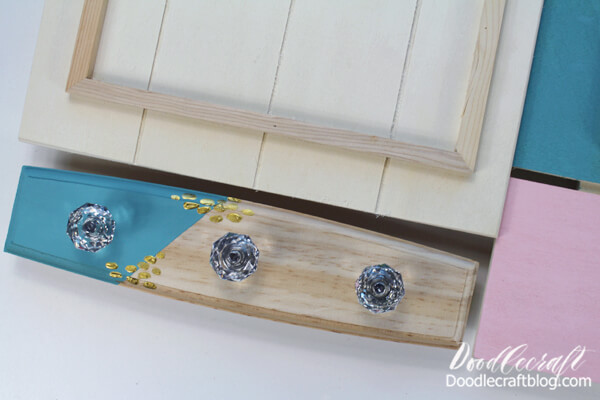
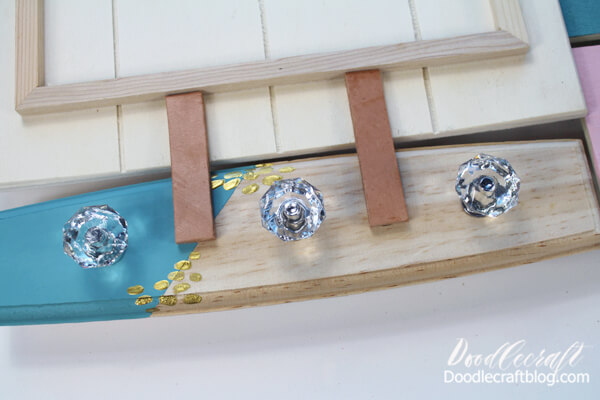
Step 3: Painting the Hanger with Crystal Knobs
Repeat the same process as earlier on the crystal knobs. Use the painters tape to block a section of the wood. Then paint the wood with the teal paint. Let it dry completely.
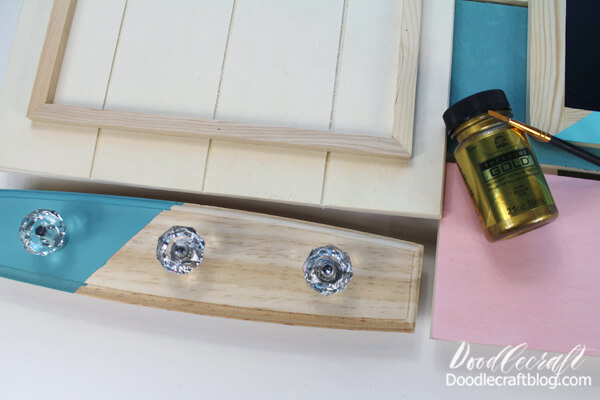
Next, follow it up with some Treasure Gold paint in the same way as with the chalkboard.
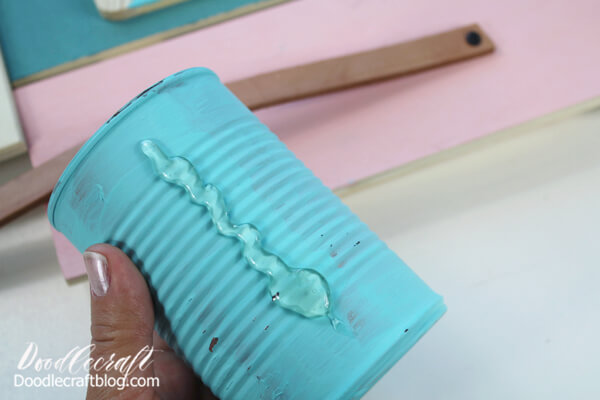
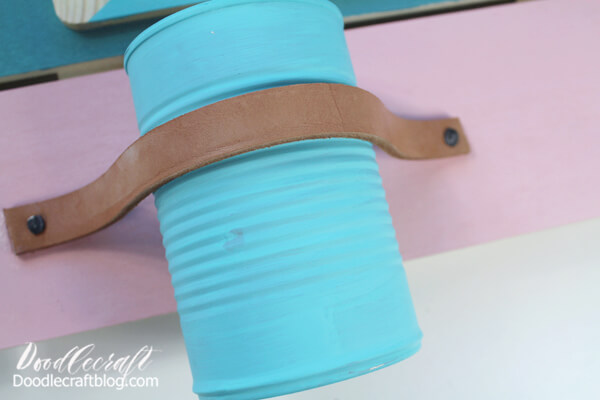
Step 4: Paint the Soup Can
Now paint the soup can with the light blue paint. Let it dry and give it another coat of paint.

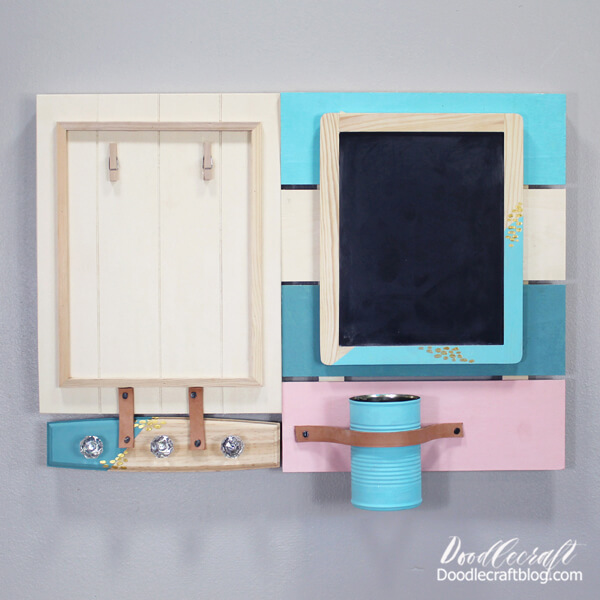
Step 5: Assemble the Command Center
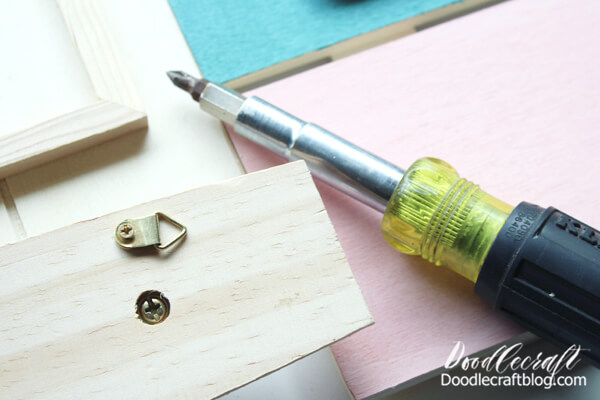
Let's get started assembling this command center. Start by removing the hanging hooks on the backside of the hanger with crystal knobs.
Next, remove the twine from the Pallet Sign with Clips.

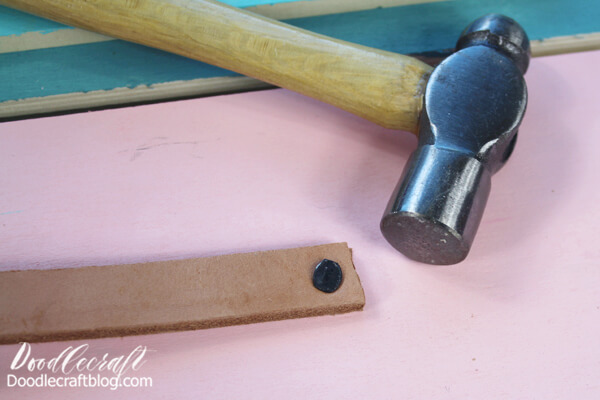
Get a strip of leather (or some ribbon) and the wood block pieces.
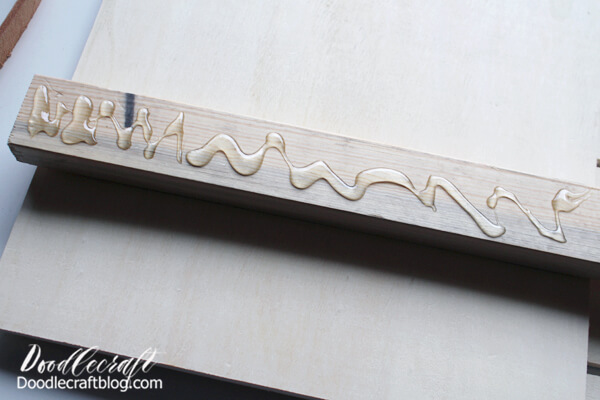
On the 1x2 board that is 20-21 inches long, add a bunch of E6000 glue to the top. Also add a line of hot glue. The hot glue will hold it instantly while the E6000 cures slowly.
Place the board across the backside of the pallet plaque and the pallet sign. Hot glue the smaller boards on the bottom of the surfaces, so they rest against the wall properly. Then let the glue dry for 4 hours.
Next, attach the soup can with the leather strip. Pound one end of it on the pallet plaque using a small tack and a hammer. Hot glue could also be used.
Then add a strip of hot glue onto the soup can.
Then stick the can to the pallet and wrap the leather around it.
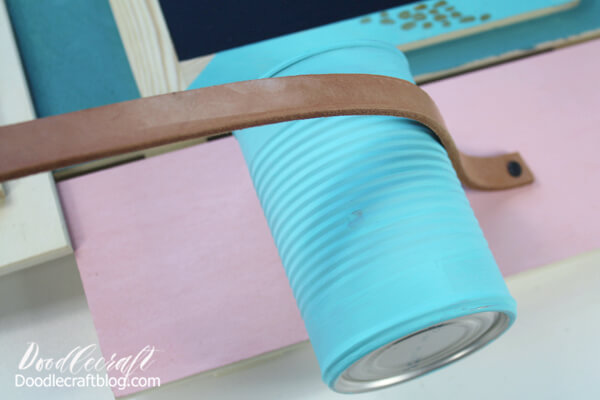
Tack the other side of the leather strip down keeping it pulled tight.
Hot glue 2 inch stripes of leather from the pallet sign with clips to the hanger with crystal knobs.
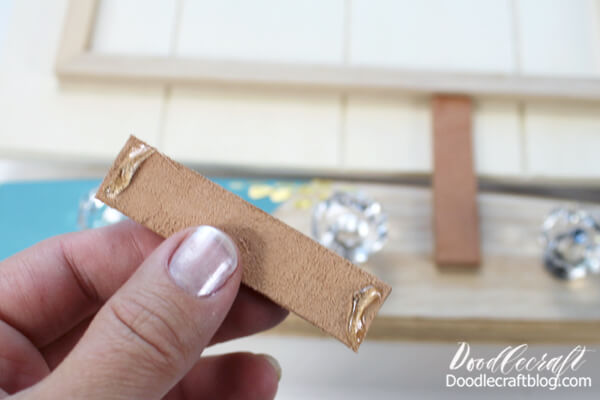
The hot glue is enough to hold it, but I added tacks for extra strength...and the look.
Step 6: Hook and Loop Closure Chalkboard
Now add a strip of hook and loop to the pallet plaque. Put the hook side on the pallet plaque and the loop/soft side on the chalkboard.

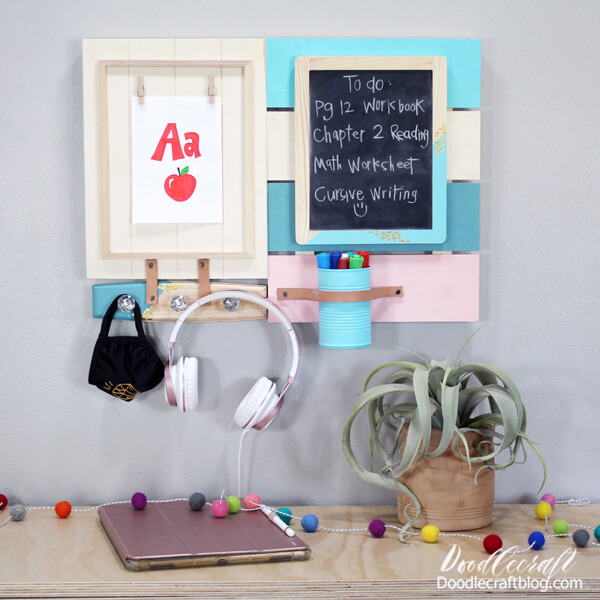
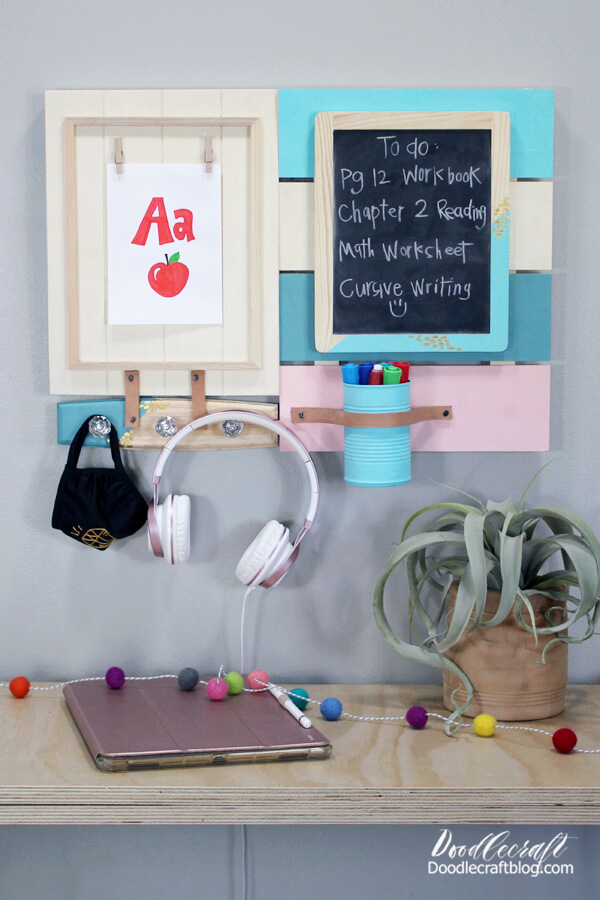
This makes the chalkboard comfortable to hold without the plastic hooks scratching. The chalkboard is so versatile for writing menu's, to-do lists, motivational quotes or for practicing writing skills.
Ta da! It's done!
Now hang it up and enjoy being super organized!
Set up the command station in the entryway, mudroom or over the desk. Get organized at home with a menu, motivational quote, mask holder for quick errands out, and some office supplies.

Pull the chalkboard off the command center to practice writing letters or simple math problems. Hang up flash cards, lists of words to spell or memorize. Fill the cup with office supplies.
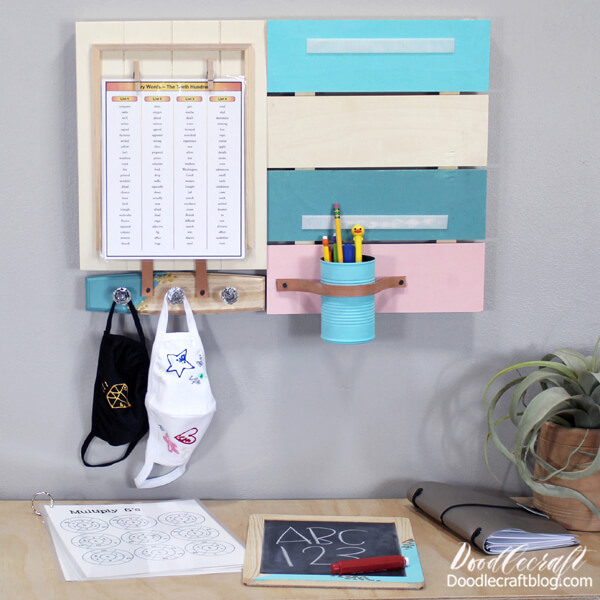
Keep track of the current day's topic, make a to-do list, keep track of whiteboard markers and chalk. Keep it all organized and in one place!
How do you think this DIY Command Center will help your back-to-school game?
Like, Pin and Share