

🎶"Midnight at the oasis
Send your camel to bed
Got shadows painting our faces-
Traces-
of romance in our heads"
....
I was in my late teens when I first heard this song
and I guess it stuck in my head all these years
because it resurfaced once again
during the construction and decoration
of the Dower House bedroom.

and once I decided to put a couple of wooden camels on either side of the mantle clock on the fireplace,
the title for this post was a
Done Deal!

But let me back up a bit and show
you some of the highlights-
the slow metamorphosis
of the Dower House Bedroom.
WARNING!!!
THIS POST IS EVEN LONGER
THAN THE LAST ONE!
😨😩😮😰
 |
|
As mentioned in my very first posting of this Glencroft redo, the original fabric interfacing residue was difficult to remove and even though the majority of it had been stripped off, wispy bits of it still clung stubbornly to the wood. Even so, this time around, I would be wallpapering the bedroom with paper instead of fabric: gluing the wallpaper onto cereal box card-stock templates before gluing the various angled sections to the walls. This would completely conceal any and all leftover resistant bits of the previous interfacing. I tried out a few different floor plans but in the end I went back to the exact same room arrangement I'd had in the 1980's. Given the low slope of the eaves there's really not a lot of viable options with this kit. I constructed a very narrow metal bed kit specifically for this bedroom to try and save on space. I already had a Ni-glo pink fringed brass table lamp in my stash, both became my starting point. |
 |
 The PERFECT upholstered arm chair was made by Norma Bennett at MAKE MINE MINI This comfy chair is a bluish grey with a very discreet white script in the cloth. I also had a rather large working casement window I'd purchased on line from somewhere. I had to cut out a lot of the window wall in order to fit it in! |

Here you can see both the upper and lower floors together.
My intent was to make a very dainty
English Lady's bedroom -
but that's not what it turned out to be!
THE STAIRWELL
Before I could start on the bedroom,
I had to do something with the
VERY NARROW stairwell.
But in order to reach inside
I first had to cut out the bedroom wall.
I used the same type of tool Bruce used
to cut out a transom in the bathroom of
Janine's French House
It was noisy and scary using this powerful tool
but I did it!
I'll be using this tool again soon when I remove the existing kitchen wall to add the extension.
FYI
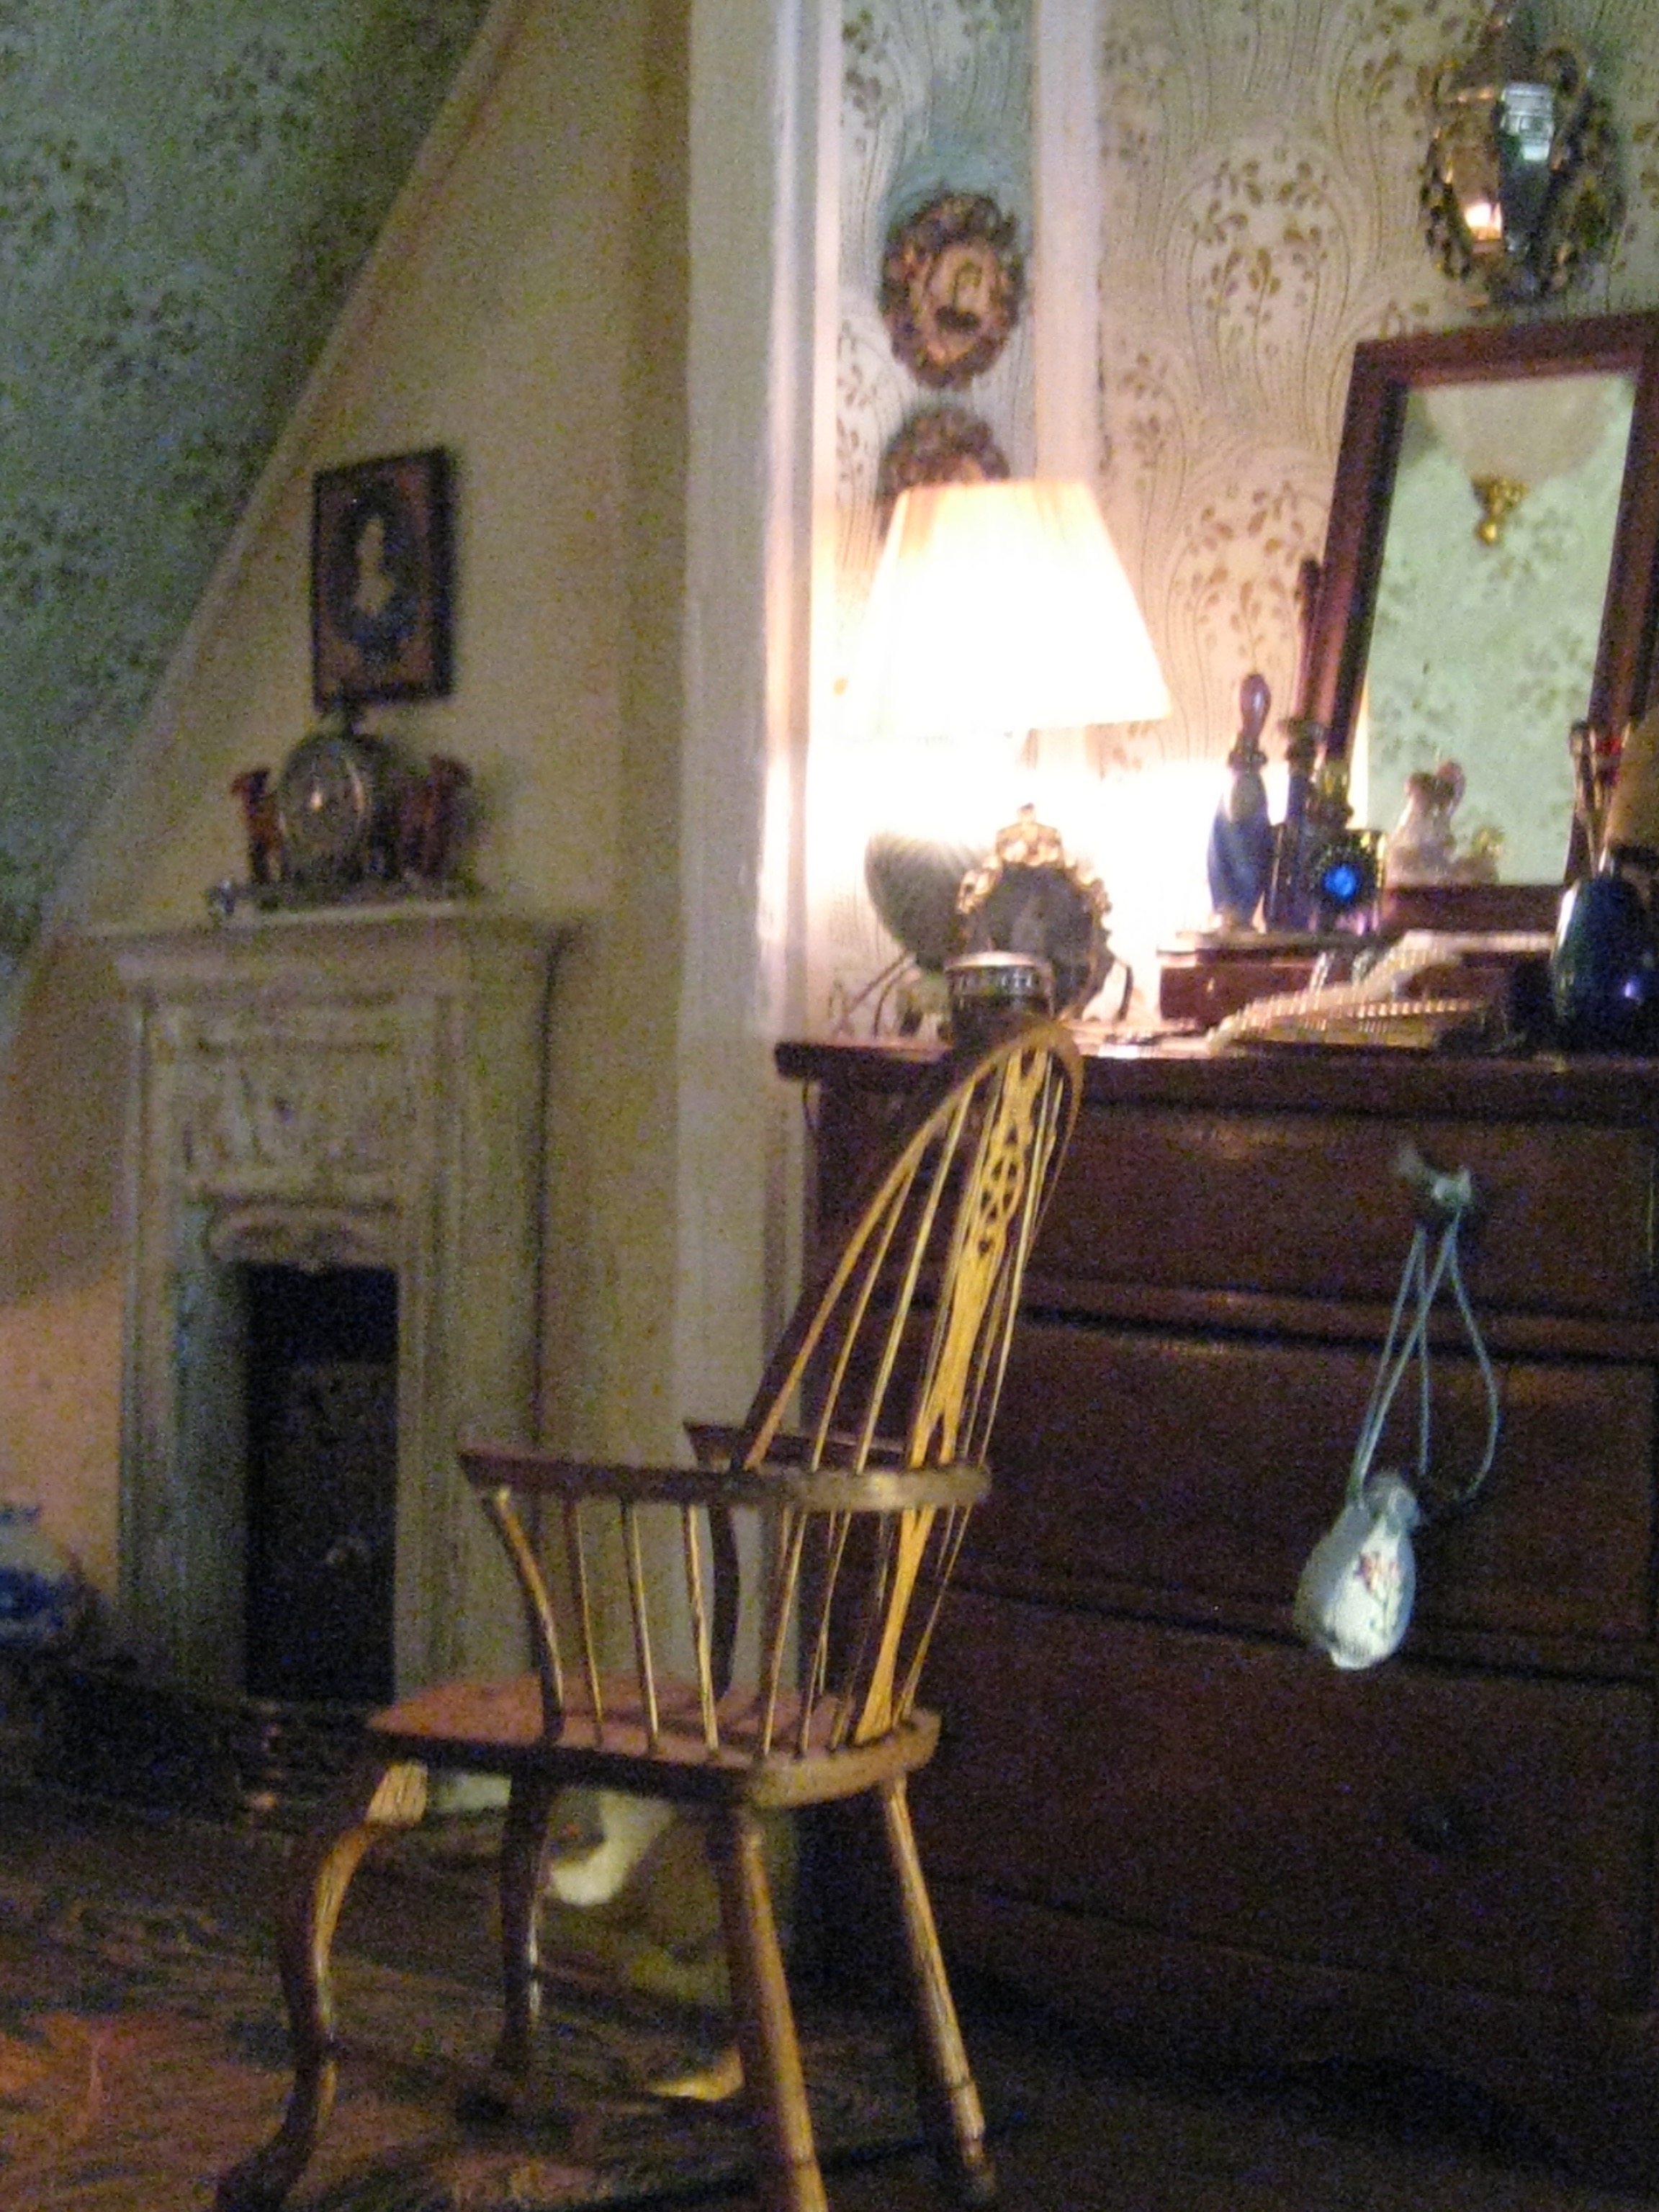
Back in the 80's when this house was a seaside cottage,
I had a tall armoire by the staircase
but this time around
I wanted something smaller and less imposing.

In the photo Above
the wall has already been removed
but
I set up the dresser as if the wall was still there
featuring a celadon green table lamp by
ceramicist
LORI O'HALLORAN
I've had this lamp for as long as I've had this house.
The swivel mirror with a drawer is a recent purchase from
Ruby Lane Miniatures
and the 3 drawer chest is a OOAK ebay purchase.
They've all stayed in the same location
from the beginning to the end of this reno.
Okay
back to the stairwell...
 |
|
Above is the profile of the bedroom with the missing wall. I wanted the stairwell to be as plain as possible. and the easier the better. So I decided to plaster it just as I'd done for the kitchen of #43 Green Dolphin Street. The plastered surfaces in the stairwell would wrap around the corner of the fireplace wall into the bedroom. I made templates of the walls and the ceiling in the stairwell using regular paper which I folded repeatedly to get the correct angles. Then I transferred the pattern onto card-stock which was glued to a Real Life textured wallpaper. When dry, the excess paper was cut away. Then each individual panel was given a thin coat of drywall patch. And after they'd cured, they were lightly sanded then sealed with white acrylic paint, then gently aged with eyeshadows and chalks. |


 |
| To set the chalks I gave them a light spray of a glue and water mix |

 |
|
I glued the plastered templates onto the wood, using my FAVOURITE ADHESIVE Fabri-Tac glue💋 then I reinstated the bedroom wall. I filled the seams between the panels with additional drywall-patch etcetera etcetera ... |

 | ||
|
the VERY NARROW and VERY Shabby stairwell honestly these stairs are so tight you've have go up and down sideways!
back up in there? 🤔 I'll have to cross that bridge when I come to it. The next step was to decide on- THE WALLPAPER |

 |
|
Originally, I was going to use the same solid pink wallpaper as in the living room below, but somehow that felt "too easy!" ???😳??? I also reasoned that eventually when all the rooms were done and the house is viewed as a whole, half of the cottage would read as a solid block of pink which could easily look visually lopsided. |
 |
I began sorting through my stash of wallpapers and found some unique Martha Stewart gift wrap I'd purchased some years earlier. The paper came in 18"x18" sheets and I had 3 & 1/2 sheets left of this particular colour-way- which should have been more than enough for anybody else except me! |
 |
|
I made a couple of test panels of the wallpaper before fully committing to it, using painter's tape to hold it in place as I assessed how it worked with the pink living room below. I liked it! And to anchor the dresser around the open stairs, I decided to add a narrow wall return to contain it, which also meant, another plastered wall panel, which of course I didn't consider until very late in the game.  I made a mock up to gage the size for a fireplace surround, |
 |
| the fireplace was built from 2 lengths of balsa wood and ceiling cove molding for under the mantle. I still needed something with texture for the middle section, so I used some leftover egg and dart trim, from the LIVING ROOM WINDOW makeover. It was turned upside down and glued onto the face of the fireplace with more FABRI-TAC. The inverted pattern of the egg and dart trim looked Art Nouveau THE BEDROOM WAS DEVELOPING A THEME |
 |
| I got serious about the wallpaper and made more templates along with solid panels of paperboard wainscotting. |
I held everything together with masking tape,
added more furniture and accessories
as I worked on a lighting plan.
 |
| I also found a magazine picture which I liked of the Queen Mother Elizabeth Bowes-Lyon during her youth. Her portrait in blue, was consistent with the pre-war vibe of this room, so it was a keeper. It later became the linchpin for the rest of the artwork which followed. |
.jpg) |
|
The built in unit under the window was custom-made for me back in the late 80's, by a fellow member of the Miniature Club of B.C. I wasn't going to use again in this reno, but then of course, I changed my mind. One of the drawers was missing😟 I'm sure I have it somewhere but I haven't been able to find it when I needed it so POOR ME- I had to build a new one! 😩 I remade it 4 TIMES before I finally got it to fit right. BUT before I could permanently re-install this unit I had to hook up THE LIGHTS "HAL-YAY-U-YAH!" The original tape wire was STILL WORKING! LET ME PAUSE HERE FOR A MOMENT TO SAY THAT IN TESTING THE TAPE RUNS I USED 2 TESTING PROBES WHICH WORKED THEN they DIDN'T. I COULDN'T FIGURE IT OUT UNTIL I REALIZED THAT I DIDN'T HAVE ONE PROBE OR THE OTHER STUCK FAR ENOUGH INTO THE TAPE! I WASTED A LOT OF TIME ON SOMETHING SO SIMPLE! MOVING ON- I plugged the wall sconces into the existing tape runs in the floor under the built-in, which is removable. With the sconces installed, then came: the painted trims, beginning around the window and working forward. But rather than fiddling with trim around the window I simply reversed the entire window unit and: the TRIMS were DONE! Eventually, I'll make new exterior window trims when I get to the exterior. |
.jpg) | |
| BACK TO THE WALLPAPER Believe it or not THIS CORNER caused me THE MOST GRIEF! I COULDN'T GET THE PATTERNS TO LINE UP and at this stage HAD VERY LITTLE WALLPAPER LEFT HAVING SCREWED it UP as usual wasted the Surplus! Anyway, with a bit of creative fudging, it at least appears presentable! ALSO- There came a turning point between the fireplace construction and the wallpaper installation, where I felt that since the The Dowager moved into this cottage, taking many treasured pieces from the Manor House, with her WHY would she have chosen a maid's bed?
So now we've arrived at the FUN PART OF THIS POST - THE DOWAGER'S BED! I L💖VE IT! I L💖VE IT! I L💖VE IT! I really like it a lot! |
 | ||||
|
The faux bamboo framed bed is made by Anthony Dunham Miniatures It arrived carefully packaged from the U.K. with the tufted mattress included. The arrival of this bed changed EVERYTHING! 🕺🕺🕺🕺🕺💃💃💃💃 As you can see it is a olive green with lots of burnt orange whilst the wallpaper is an aqua green with gold patterning. Later you'll see how it looks up against the walls however even though the colour combinations between the walls and the bed is "uncommon?" I was TOTALLY SMITTEN with this piece of furniture and needless to say the Dowager is too!
because the Dowager likes a lot of different things!  I folded back a sky blue duvet at the foot of the bed, which picks up the blue from the QM painting above the headboard. I placed a pile of freshly pressed bed linens ( made from a vintage hanky) on top of the blue duvet. This exposes as much of the bed- frame as possible but still allows me to dress it.  In the photo above is the large carpet covered cushion I made. This pillow is filled with sand. The burnt orange picks up the orange flowers of the bolster, and orange in the bamboo and the burnt orange in the carpet. The EXQUISITE tasselled "E"cushion which Shannon was excited about was an unexpected Christmas Gift from the AMAZING Jonquil Norrie! Latchkey and Jonquil |


 |
| I am Captivated by Jonquil's delicate embroidery work and this tiny BLUE TASSELED cushion is PERFECT on my forever unmade bamboo bed! THANK YOU JONQUIL!💋 |
onto
THE FLOOR
 |
|
Once the bed was sorted out, I needed to get to work on the floor. I made another cardboard template to glue the wood strips to. Rather than use more of the leftover siding from the Willowcrest kit I decided to use the oak iron-on veneer strips which found in a drawer: leftovers from LAND'S END. 
|
 |
| This floor was super easy to make! |
 |
| FRONT SIDE... |
 | |
| BACK SIDE I ironed the strips onto the cardstock with a HOT DRY iron over a piece of copy paper. Then I stained it with a mix of Fruitwood stain followed by a darker wood stain, left over from another project.
 Before I glued down the floor, I connected all the task lighting to the tape runs and made a tracing paper copy so that I'll know exactly where it is under the wood. Once the floor was in, I installed the baseboards to the wainscotting panels. FYI I'd thought about making the wainscotting more interesting but so little of it is visible and the walls are so busy that leaving it plain made more sense.   I glued a tile hearth on top of the wood. I've also added wallpaper to the built-in drawer fronts and a pair of faux doors to the centre section for a little extra storage . THE AREA RUG The acanthus leaf area rug was printed on suede paper using a magazine image I saved.  I ended up printing this rug 3 TIMES The first time my printer left horizontal lines across it The second time I printed it too dark. 3rd time was just Right! but OH MY! to think of all that wasted ink!😖 $$$$$ 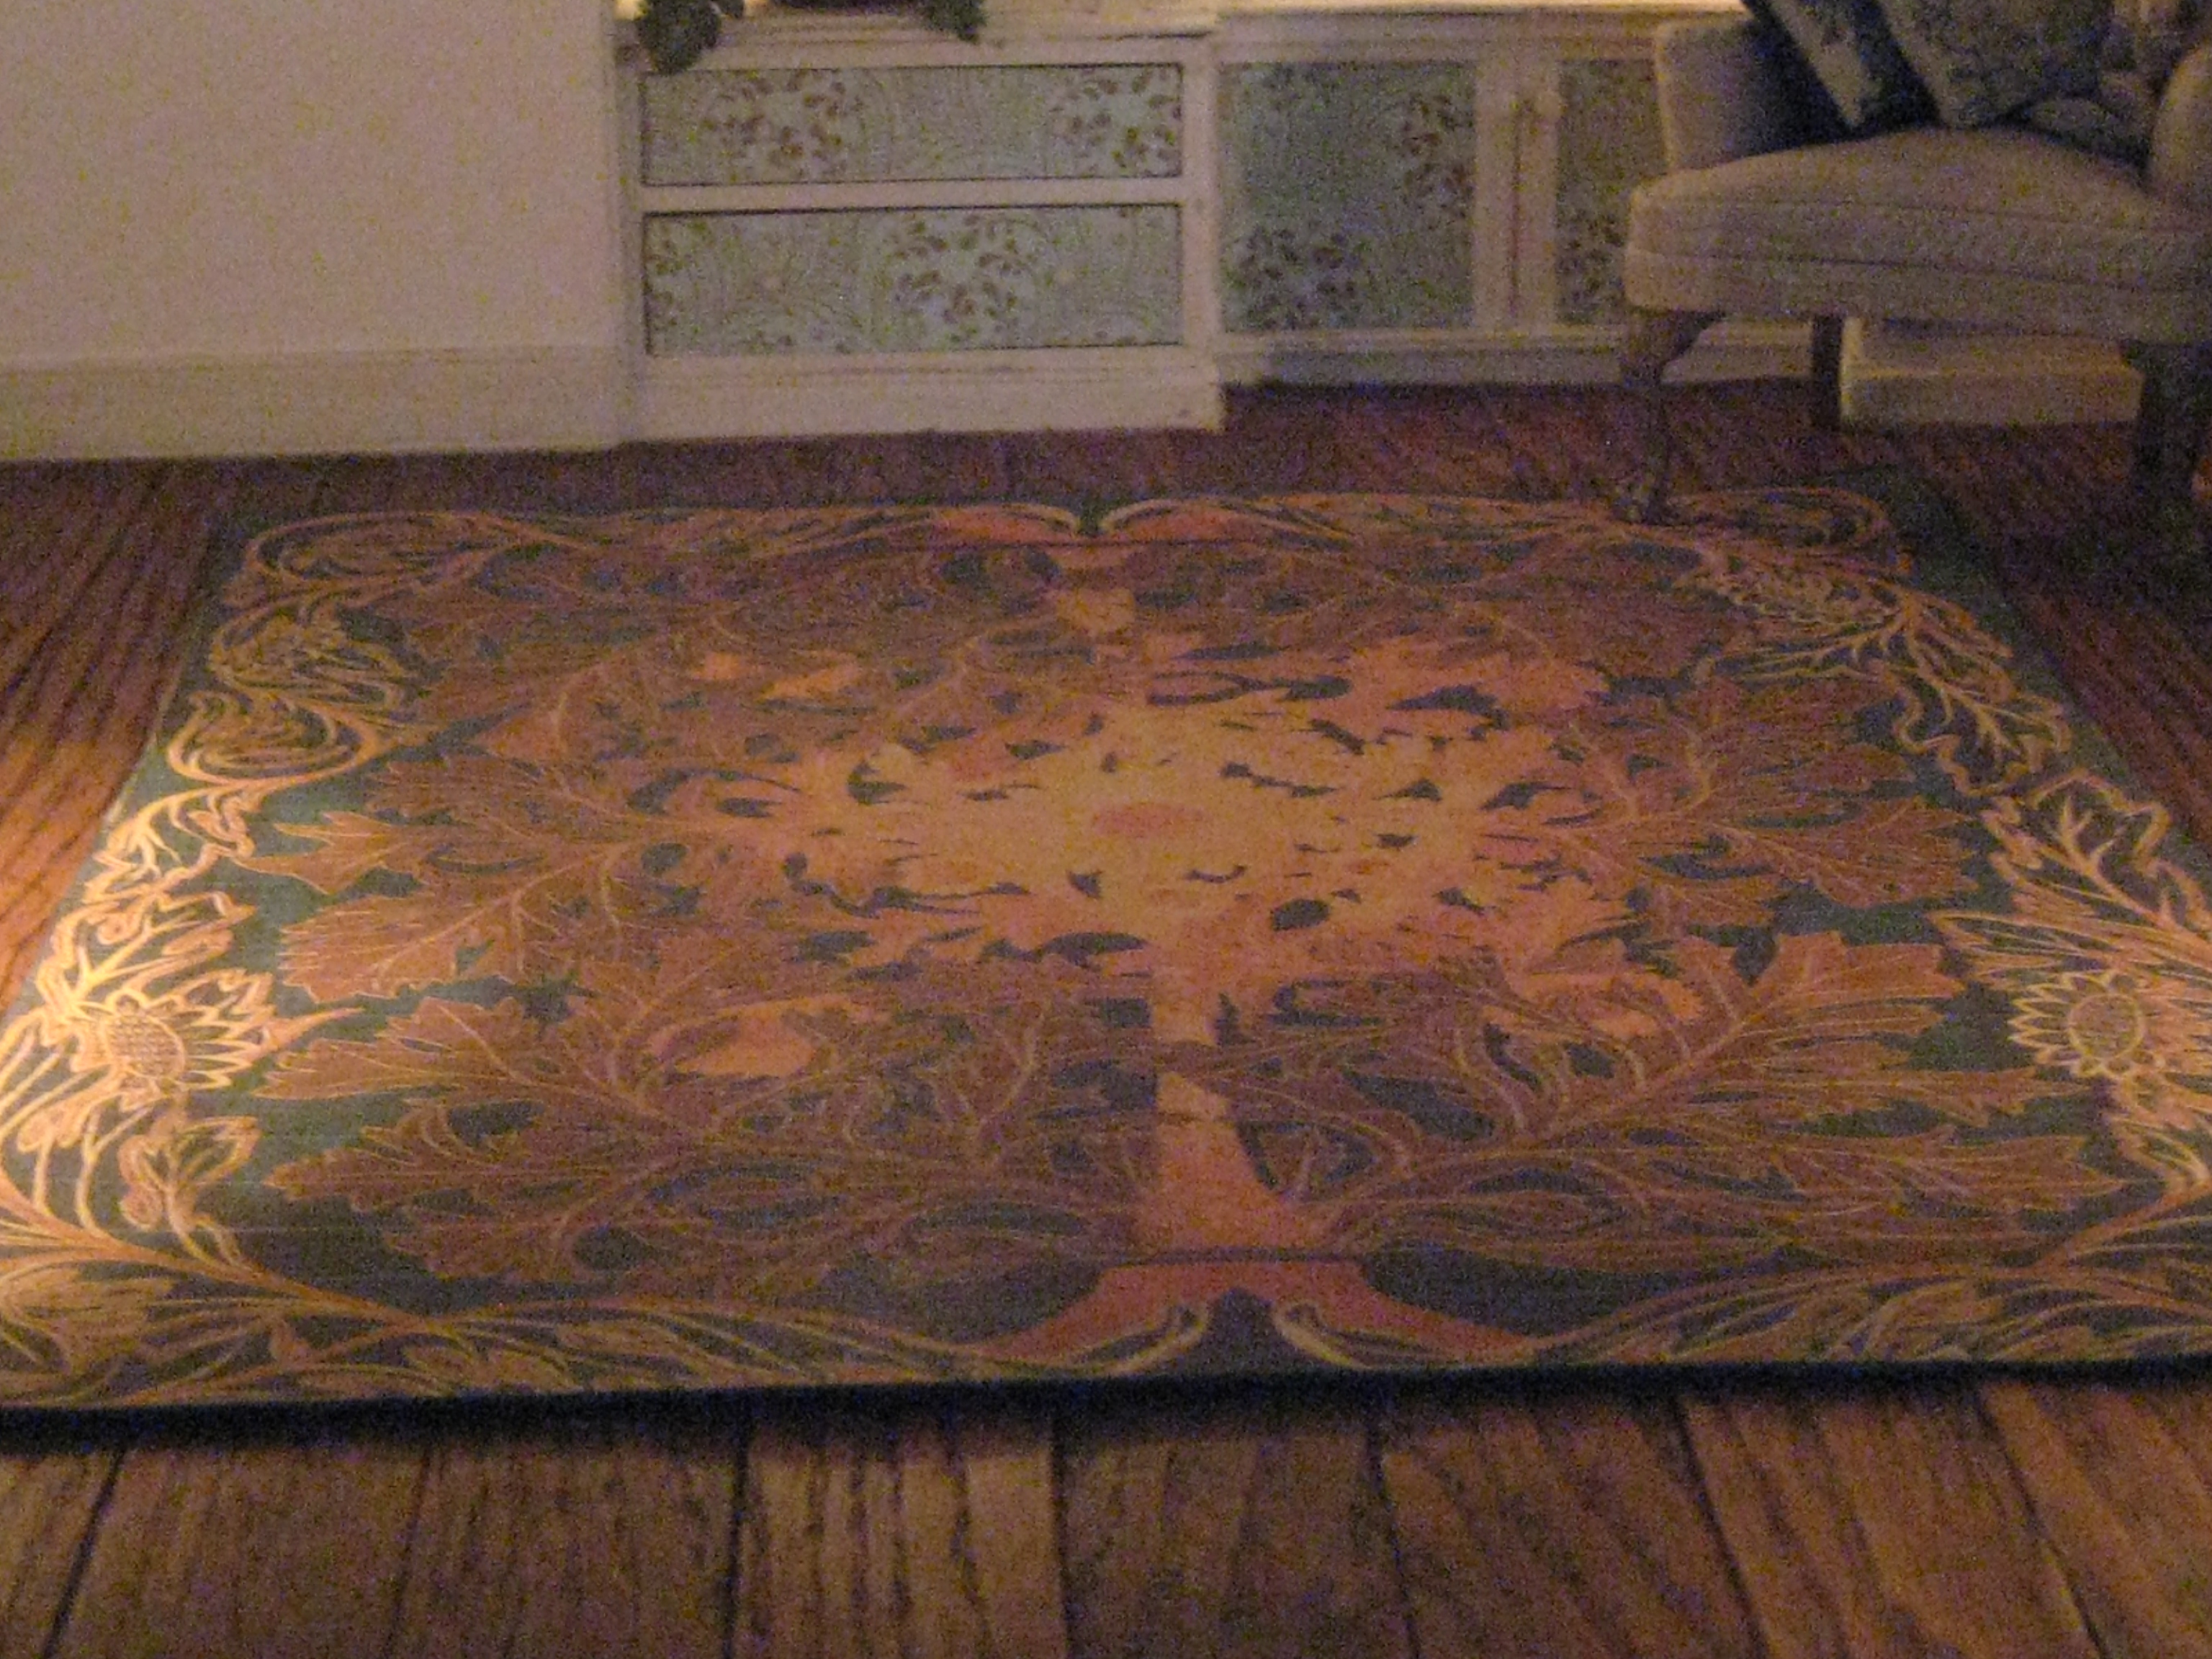 As I'm sure you can tell, I absolutely LOVE fine embroidery but I'm incapable of doing it. My fellow MINITEER and AMAZINGLY TALENTED FRIEND LINDA PARK made me among other Beautiful things- (to be featured in a future post) an EXTRAORDINARY pair of rose patterned slippers for the Dowager's bedroom! I'm Absolutely THRILLED WITH THEM! Thank Y💖u Linda!!!  Petitpoint PERFECTION! 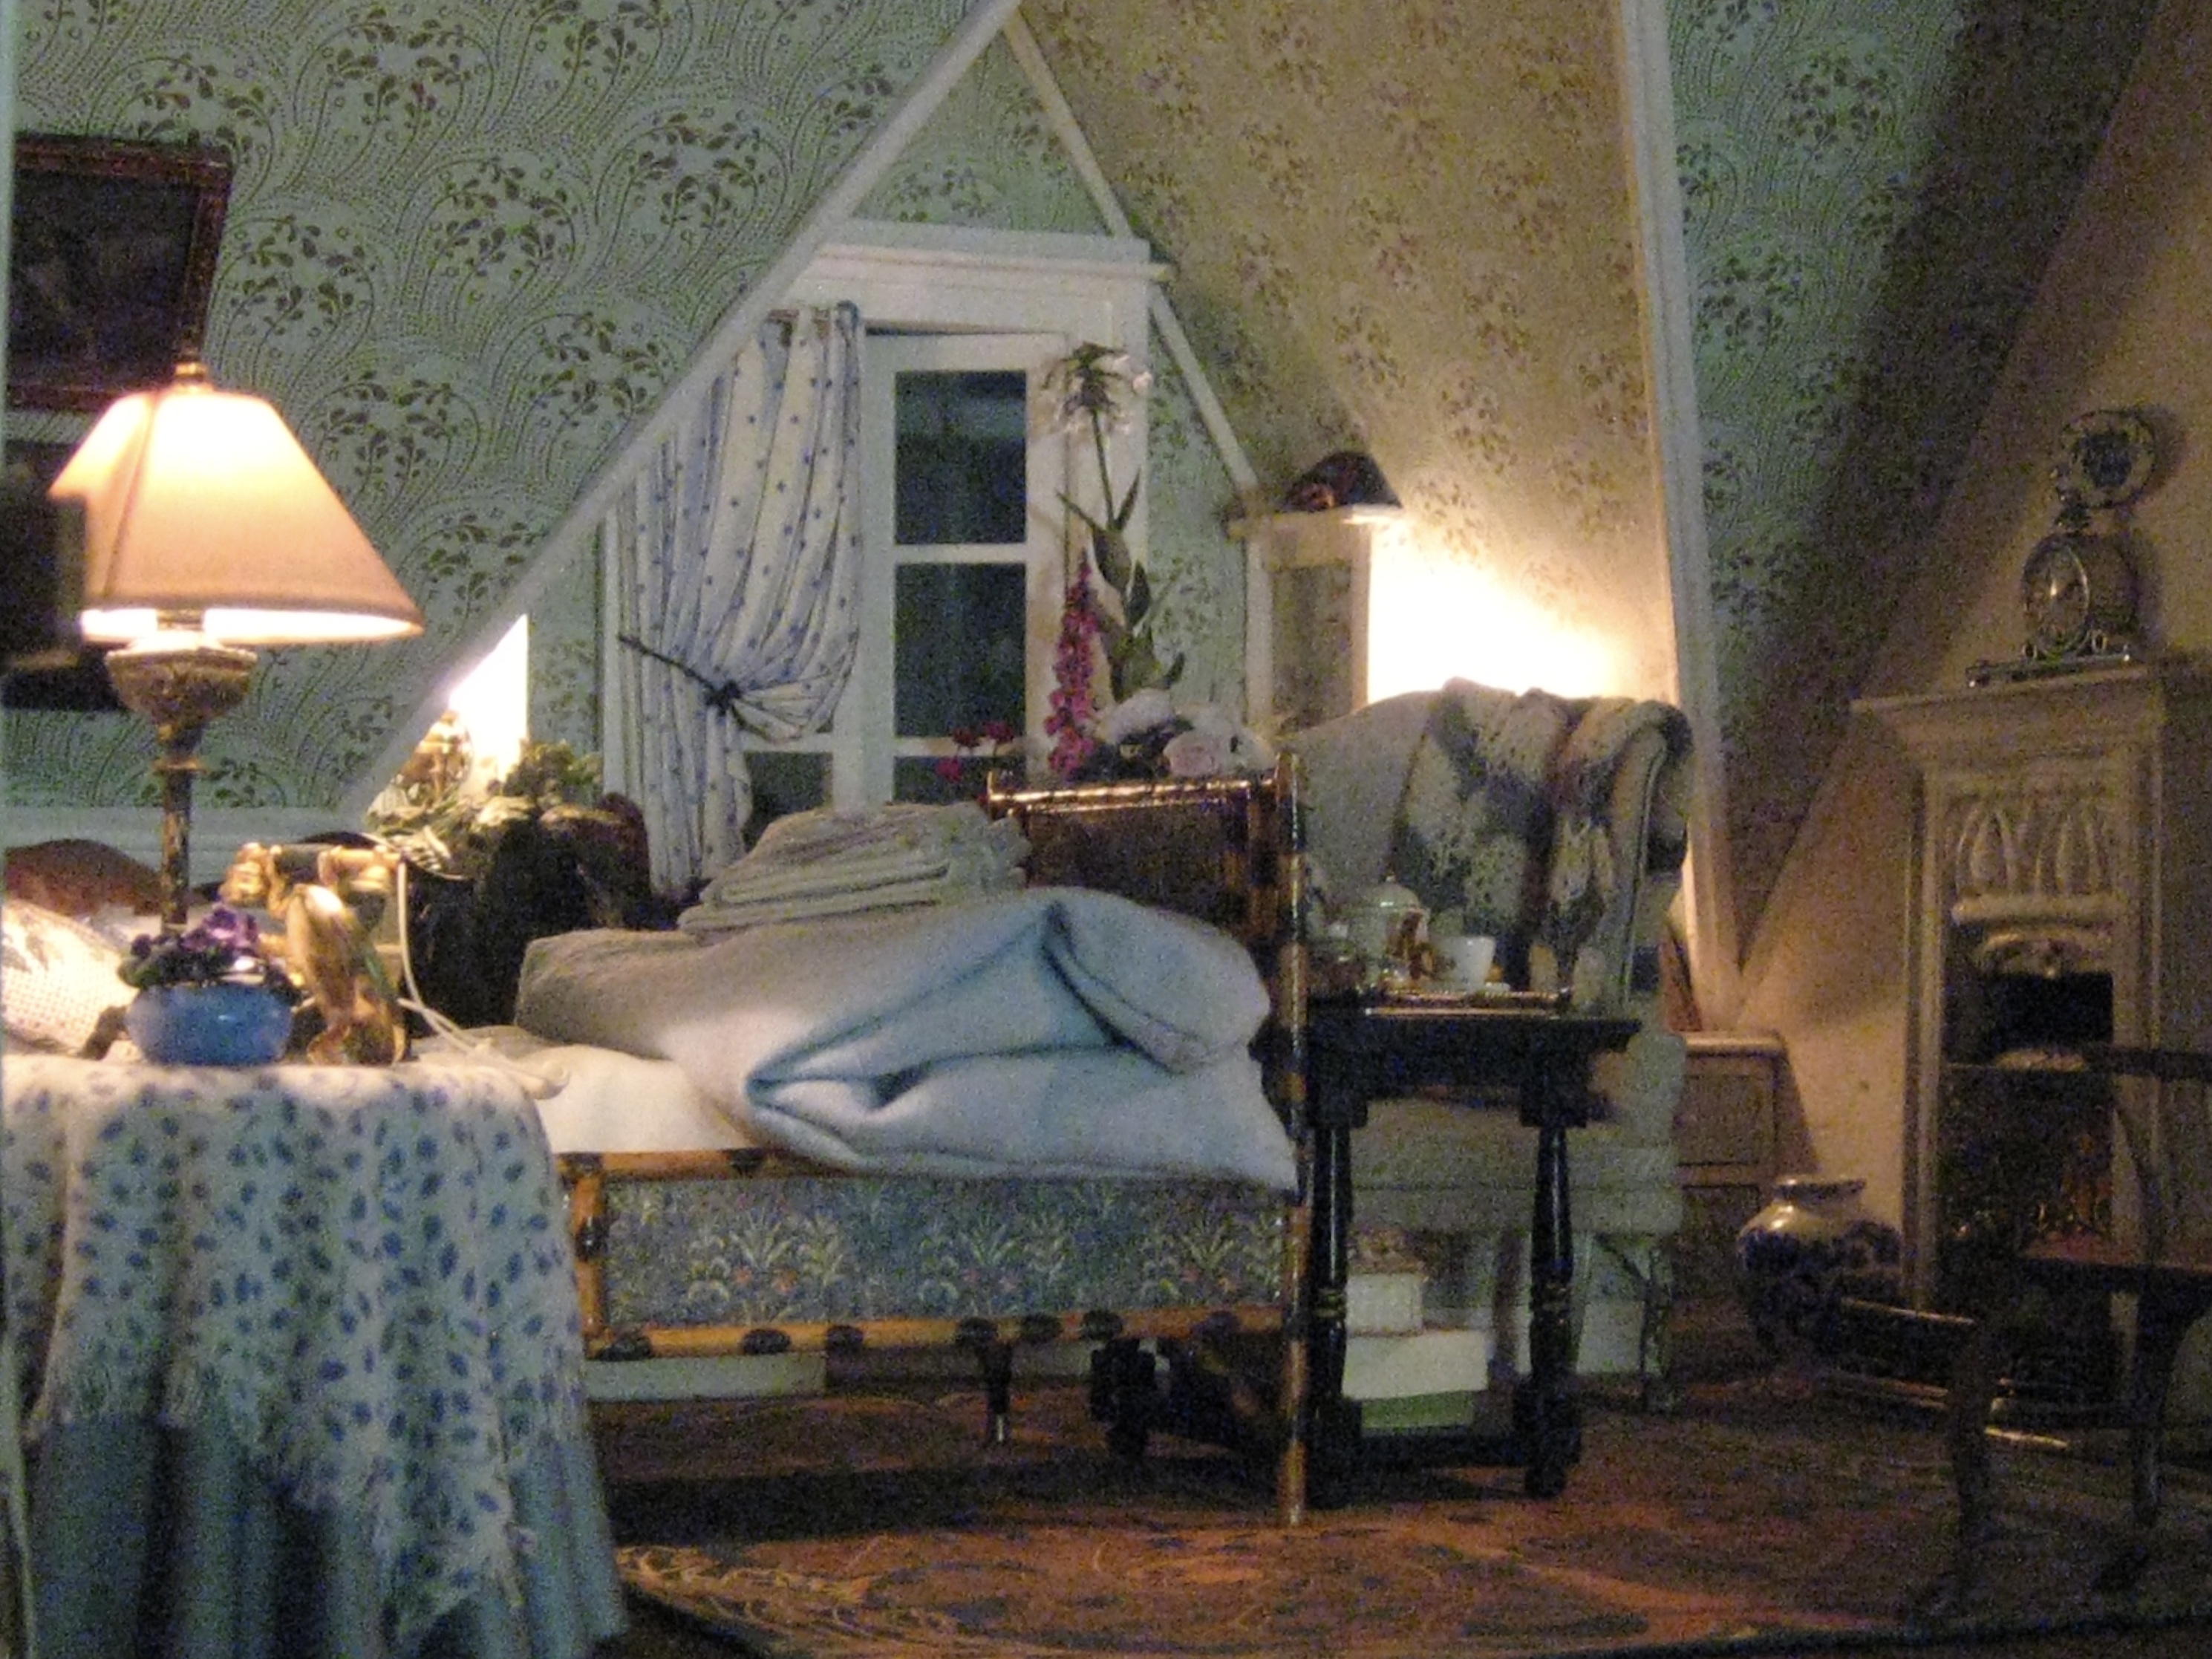 So here was the Dowager's Bedroom thus far showing the bamboo bed against the wallpaper, using sky blue and burnt orange as the unifying links. But the woman needed a place to take her morning tea, so I placed a small black table at the foot of the bed. (later I added casters so she could wheel it to her chair) On the table is a sterling silver tray with tea service and a lush bouquet of Pierre de Ronsard roses another MARVELLOUS gift made by LINDA 💗  These ROSES are SO PRETTY!!! |

 |
This TotallyADORABLE blue and white tea cosy with a tiny blue bunny is ANOTHER GIFT from -? YUP! LINDA PARK!💋 I've been waiting for just the right place to display it and the Dowager couldn't be Happier! |
 |
|
The flowers and the tea cosy are constants but the tea service itself has changed several times over. I decided to use my Stokesay ware service so now it now looks like this!↓  |

In order not to ruin the integrity of the china,
I balled up a bit of tissue
and placed it at the bottom of the cream pitcher.
Then I added a couple of layers of white suede paper
cut to size which I placed on top of the tissue
as the "cream"
I put biscuits in the sugar bowl
because the Dowager likes to dip and sip!
 |
|
I use a similar method to fill her teacup. I punched a few circles from yellowed acetate and layered them inside the cup one over the other until the strength of the brew was achieved. No muss no fuss! |
 |

I placed the teacup on the desk next to the bed
which you'll see later
now onto
THE GALLERY WALLS
 |
|
Using the portrait of the Queen mum as the centre point, I hunted through my stash of pictures and paintings, for scenes of ancient architecture and/or ruins and anything that conjured up images from the movies such as Indiana Jones, Out of Africa or THE ENGLISH PATIENT you get the drift   I interspersed them with old-fashioned florals photos and wall plaques The wall behind the headboard I was easy but the angled wall took a lot more effort. The photo below is the angled wall still under construction. |
 |
there was too much negative space Dressing the side wall was frustrating because I couldn't find exactly what I was looking for. |
 |
|
To get things moving again I removed the art from the eaves and started again, and this is what it looks like now. I would describe the entire effect over the head of the bed as a "TENT of ART" And although I'm NOT planning to fill up the entire wall, I do have ONE MORE PICTURE to add which I've ordered from. MELODY JANE I'm so excited!!! It's a photo of a 1930's Egyptian expedition featuring camels, Bedouins and a pyramid in the background- WHOOHOO!👍👍    FYI After I'd decided to use the angled wall for picture display I checked to see if you could actually do this in real life and YES YOU CAN! There's special wall mounts which support the artwork on angled walls allowing them to defy gravity! Whew! WHAT A RELIEF!  To the left of the bed is a small cloth-covered round table which I purchase as part of a furniture lot on ebay. A child's blouse from the thrift store provided the fabric for the fringed table scarf. On the table is the brass Ni-glo lamp which I darkened with some thinned black craft paint.  I switched out the original pink fringed shade for the wider one from a different lamp in my stash. A French telephone was painted green and placed under the lamp.  A pot of African violets and a photo of the Dowager's mother as a child rounds out this display.  The Oriental screen behind the table is a kit I purchased from THE LITTLE DOLLHOUSE COMPANY 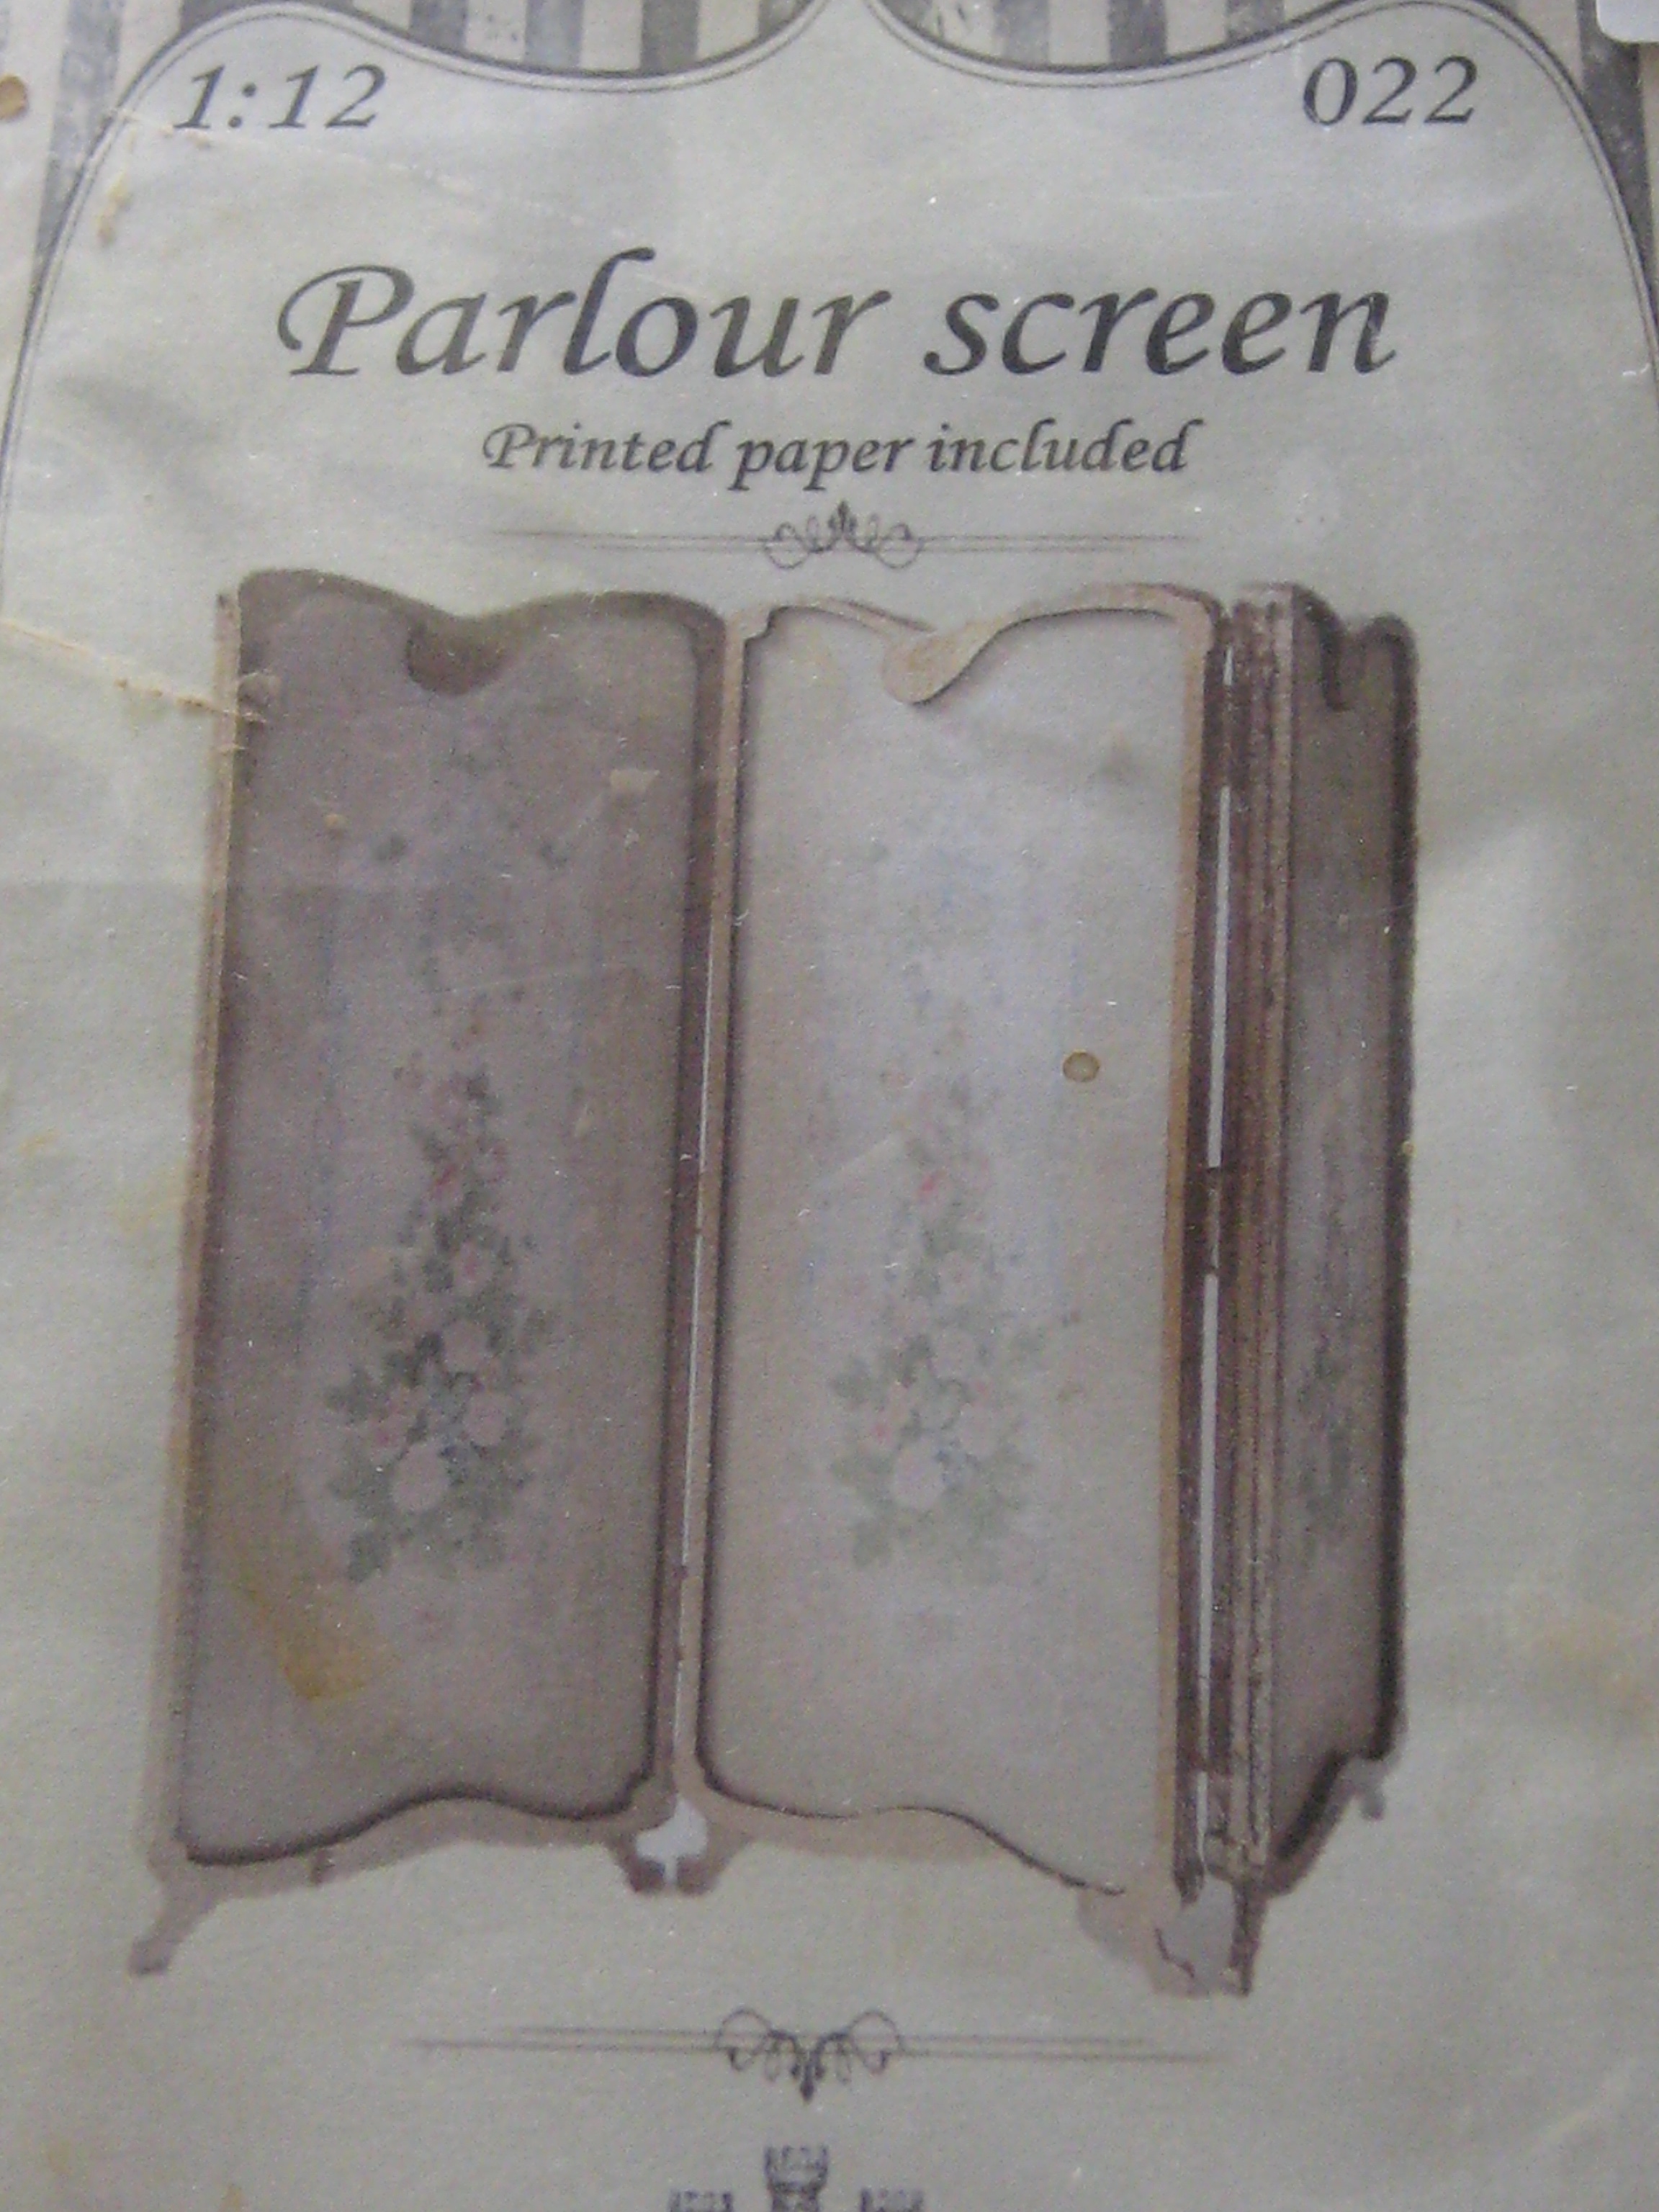  The kit comes with 3 panels but I only used 2  each panel uses 2 frames for front and back  I stained the frames with an "Oak" wood repair felt marker  2 sheets of floral paper are include in the kit     I wanted something more exotic. I'd saved a magazine tear sheet of a Chinese wall mural which was the right colour and scale. I cut it down to fit each side of the screen then gave it a discreet bit of aging with some chalks.   The finished screen cups around bedside table  |
|
|
To the right of the bed I placed a tiny desk with drawers primarily because IT FIT! The corner was very dark so I retrofitted a brass wall lamp above the desk because it made sense to have one. The Hollyhock pitcher was a gift from Janine made by a Tasmanian porcelain artist Margaret Crosswell I put a mirror above the desk so its contents could be seen. 
|

A small shield back chair is used at the writing desk.
 |
| Between you and me, I don't know HOW comfortable it would be to write on this desk under the eaves but perhaps the Dowager is somewhat on the short side! 😂 |
THE BUILT-IN
I had an Inspiration Image in my mind
from a blog post by
Catherine
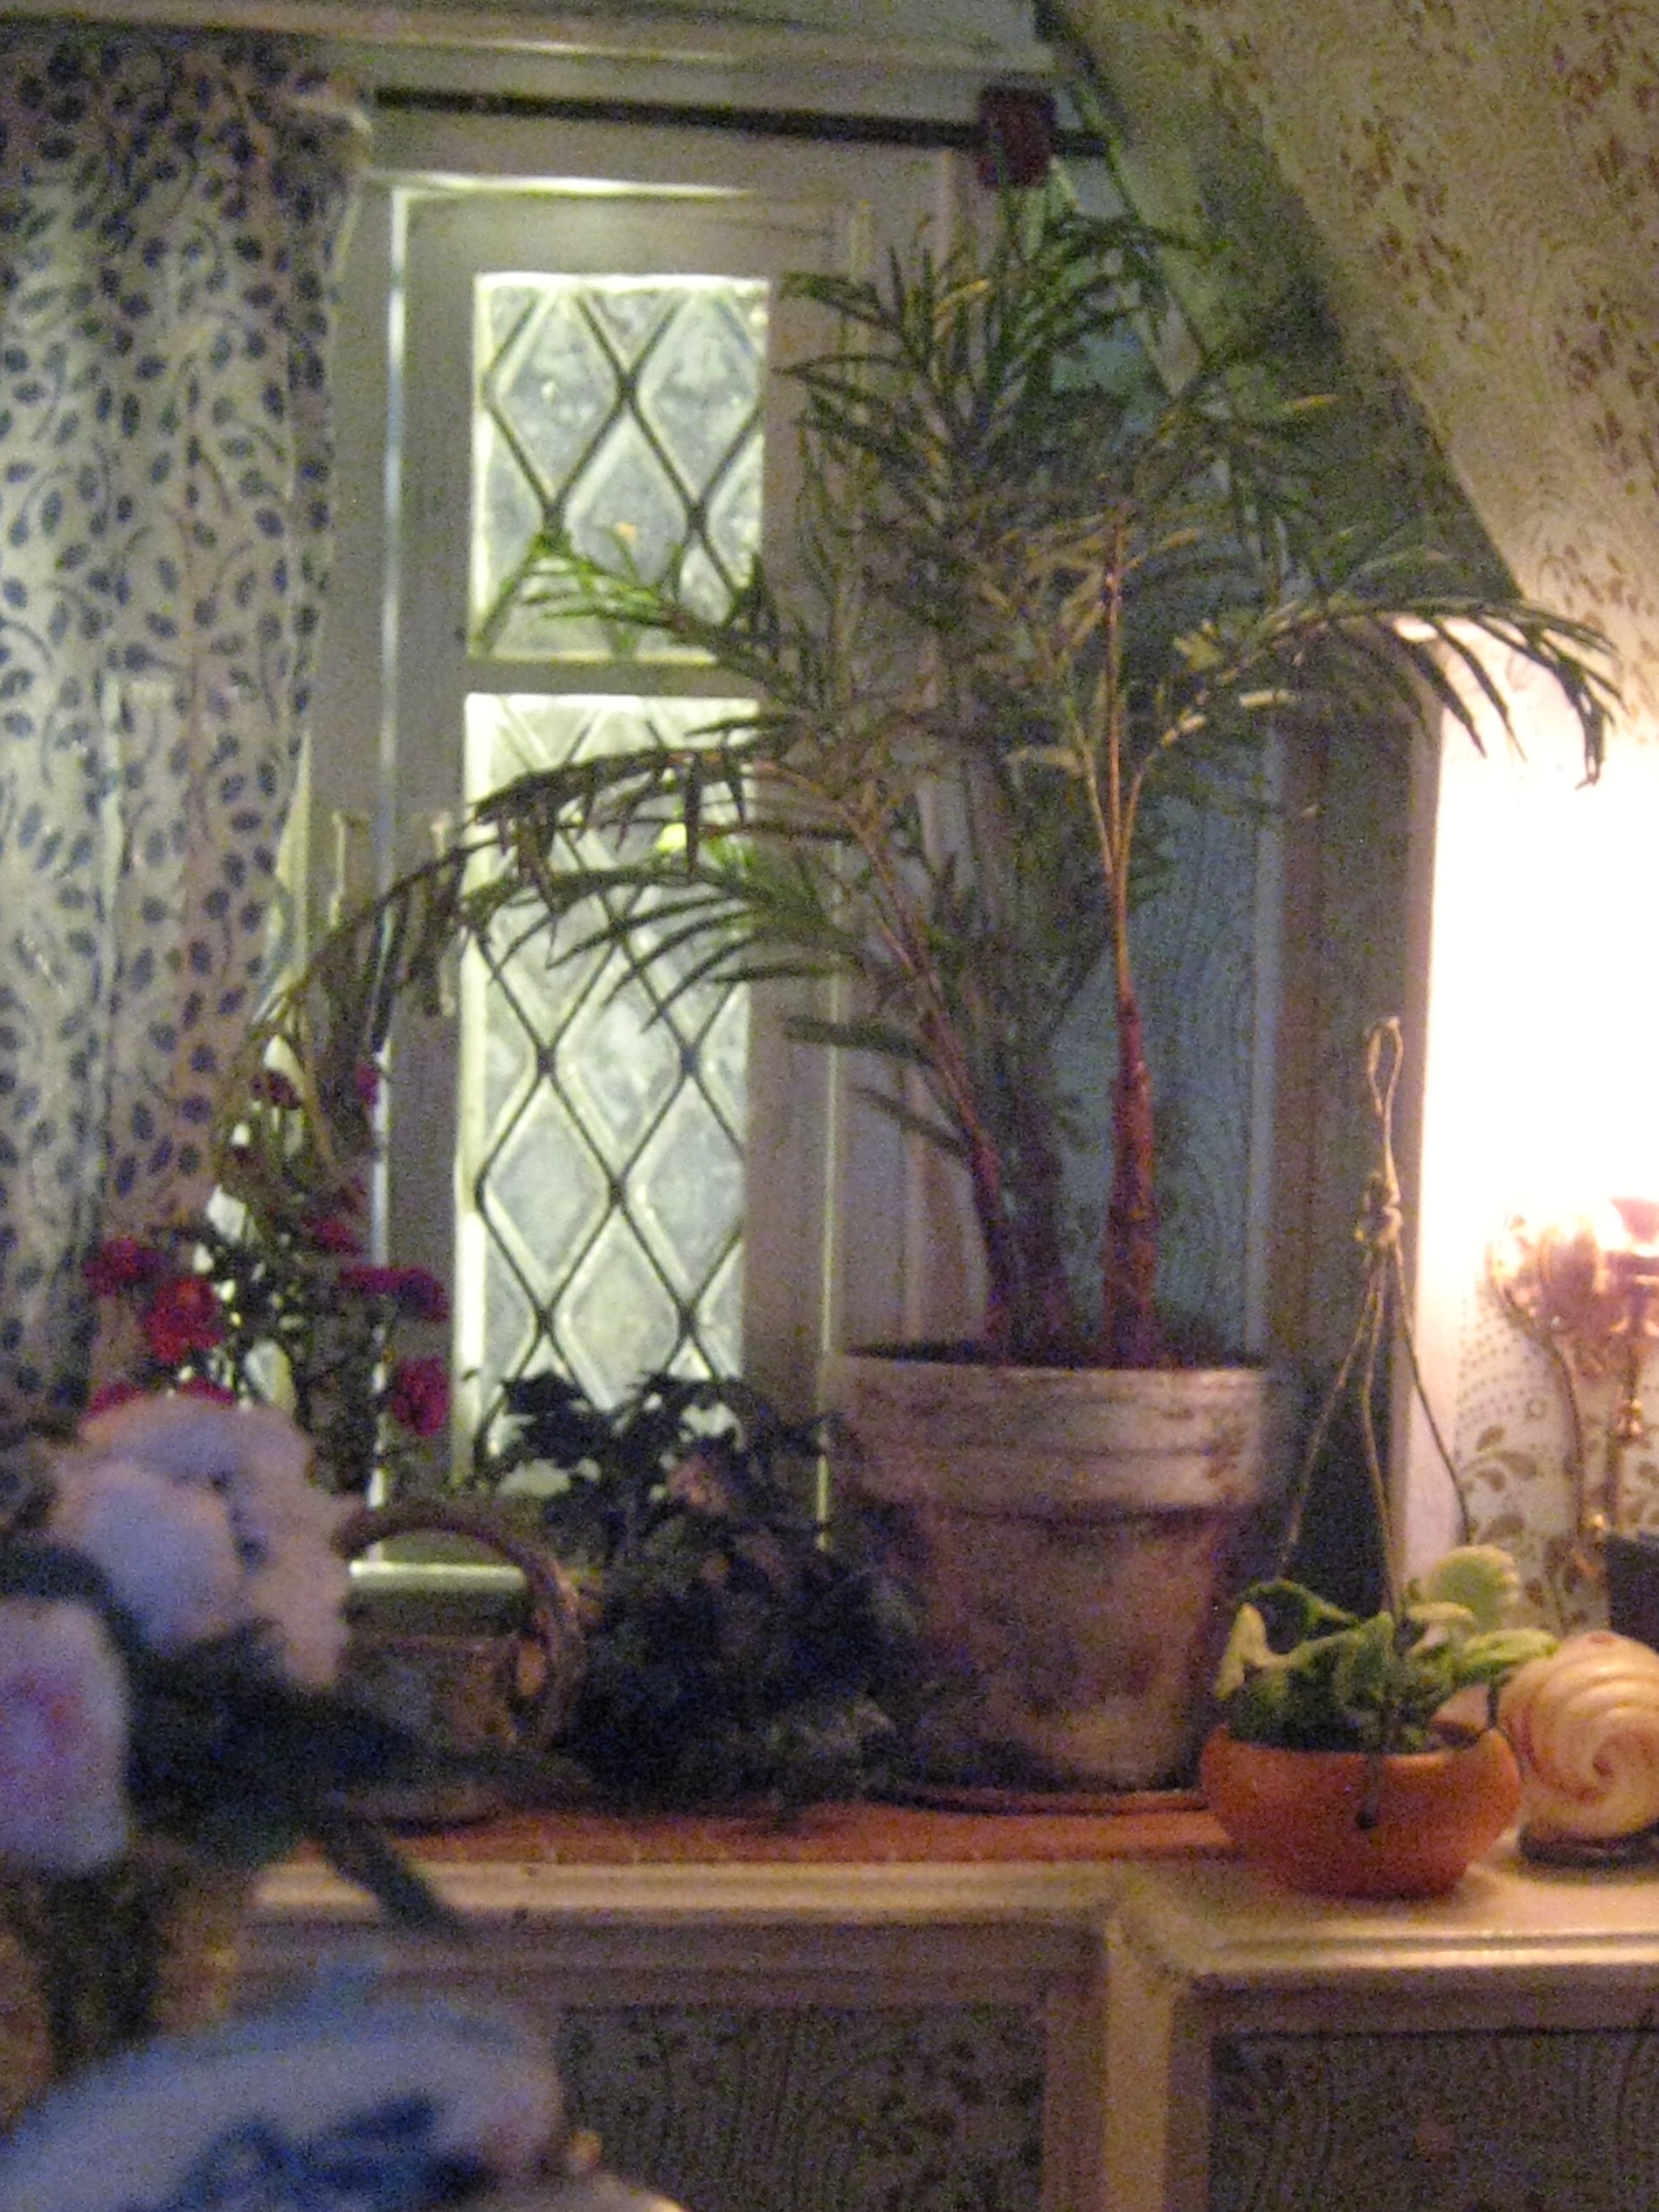
What I liked about Catherine's series of photos was the number of potted plants growing
on her deep mouse house window sill.
 |
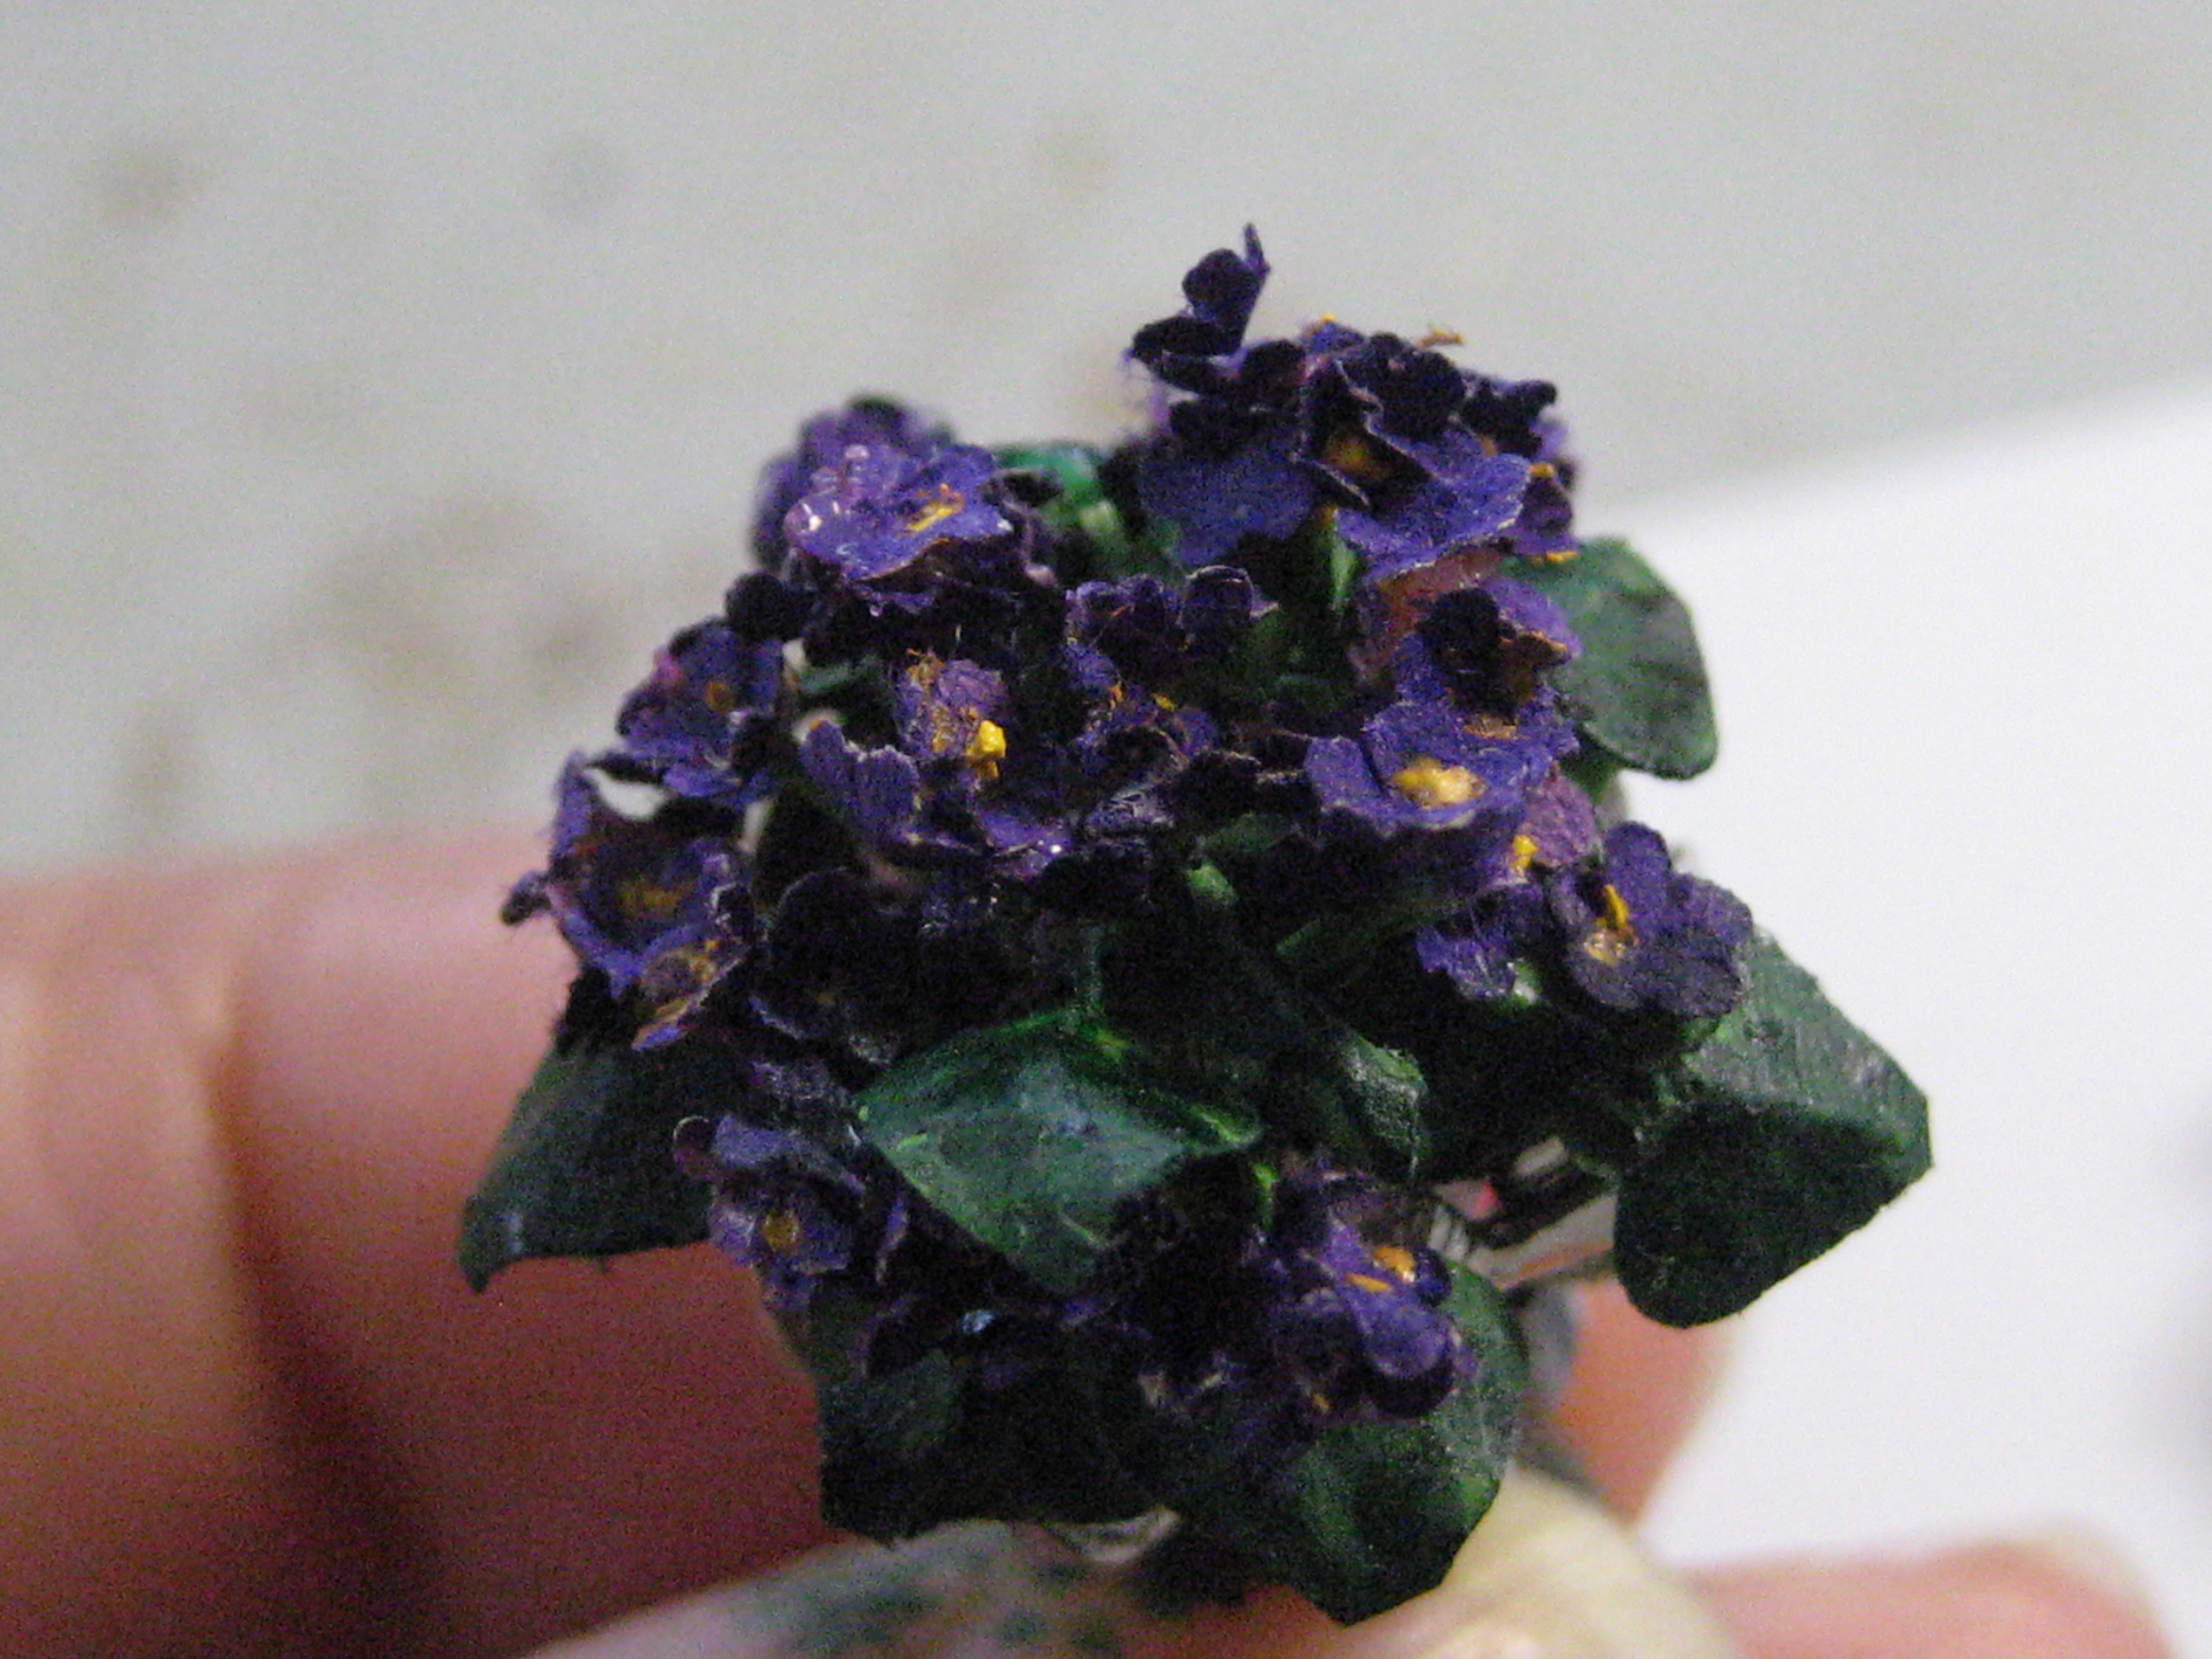
| Two of the plants I used for my window built-in were African violets: one made from a sample gift from MOONFLOWER MINIATURES and the other 2 made by me. Two of the plants were potted in Margaret Crosswell porcelain vases |
which is stable enough to support the plants.
 |
| above is the free African Violet Sample from Ebe. |
 |
| HOMEMADE ↕ |

On my window frame
I used blue tac to "hang" a cardboard cutout
of a curtain panel.
At the time I didn't feel like making a real curtain
and I continued to put it off.
But eventually
I quit being lazy and quickly made one.
 |
|
The new curtain panel is hung on a dark metal rod with 2 wooden African beads used as rod supports.  At one point I was thinking about adding a spear to the room but thought better of it. 😬 The curtain rod kinda reminds me of one so close enough! 😆 On top of the built-in I cut a narrow length of superfine rattan to act as a runner under the plants. |

Along with the violets,
I included the following items:
A potted fern;
a stuffed yellow lizard (vintage broach pin);
an old fashioned radio sitting atop a greek stone capitol;
a couple of framed photos;
a miniature rose ( made from a half-scale flower kit);
a trailing ivy (it's painted brass) planted inside
an African bead/vase removed from a thrift store necklace;
a green plant made of fimo in a terracotta pot;
a painted plastic watering can;
a carved bone bead ( behind the chair)
a collection of mini books;
and
Moonflower Miniature
a potted palm -
my Very FAVOURITE THING in this grouping!
|
| The MOONFLOWER MINIATURE PALM KIT |
was SO EASY!
The fronds of the leaves are realistically fine
which is what I liked best about it.
The height of the stems and the width of trunks
is up to the maker
so I made mine as tall
as the height of the window opening
to fill this OASIS SPACE on the built-in.
This palm plant was
an Absolute "MUST HAVE"
It's immediate association with
Art Nouveaux/ Bloomsbury/ Pre-War/
Exploration and Adventure theme
is almost cliche'
I LOVE the look of this humungous plant
in the window!
 |
|
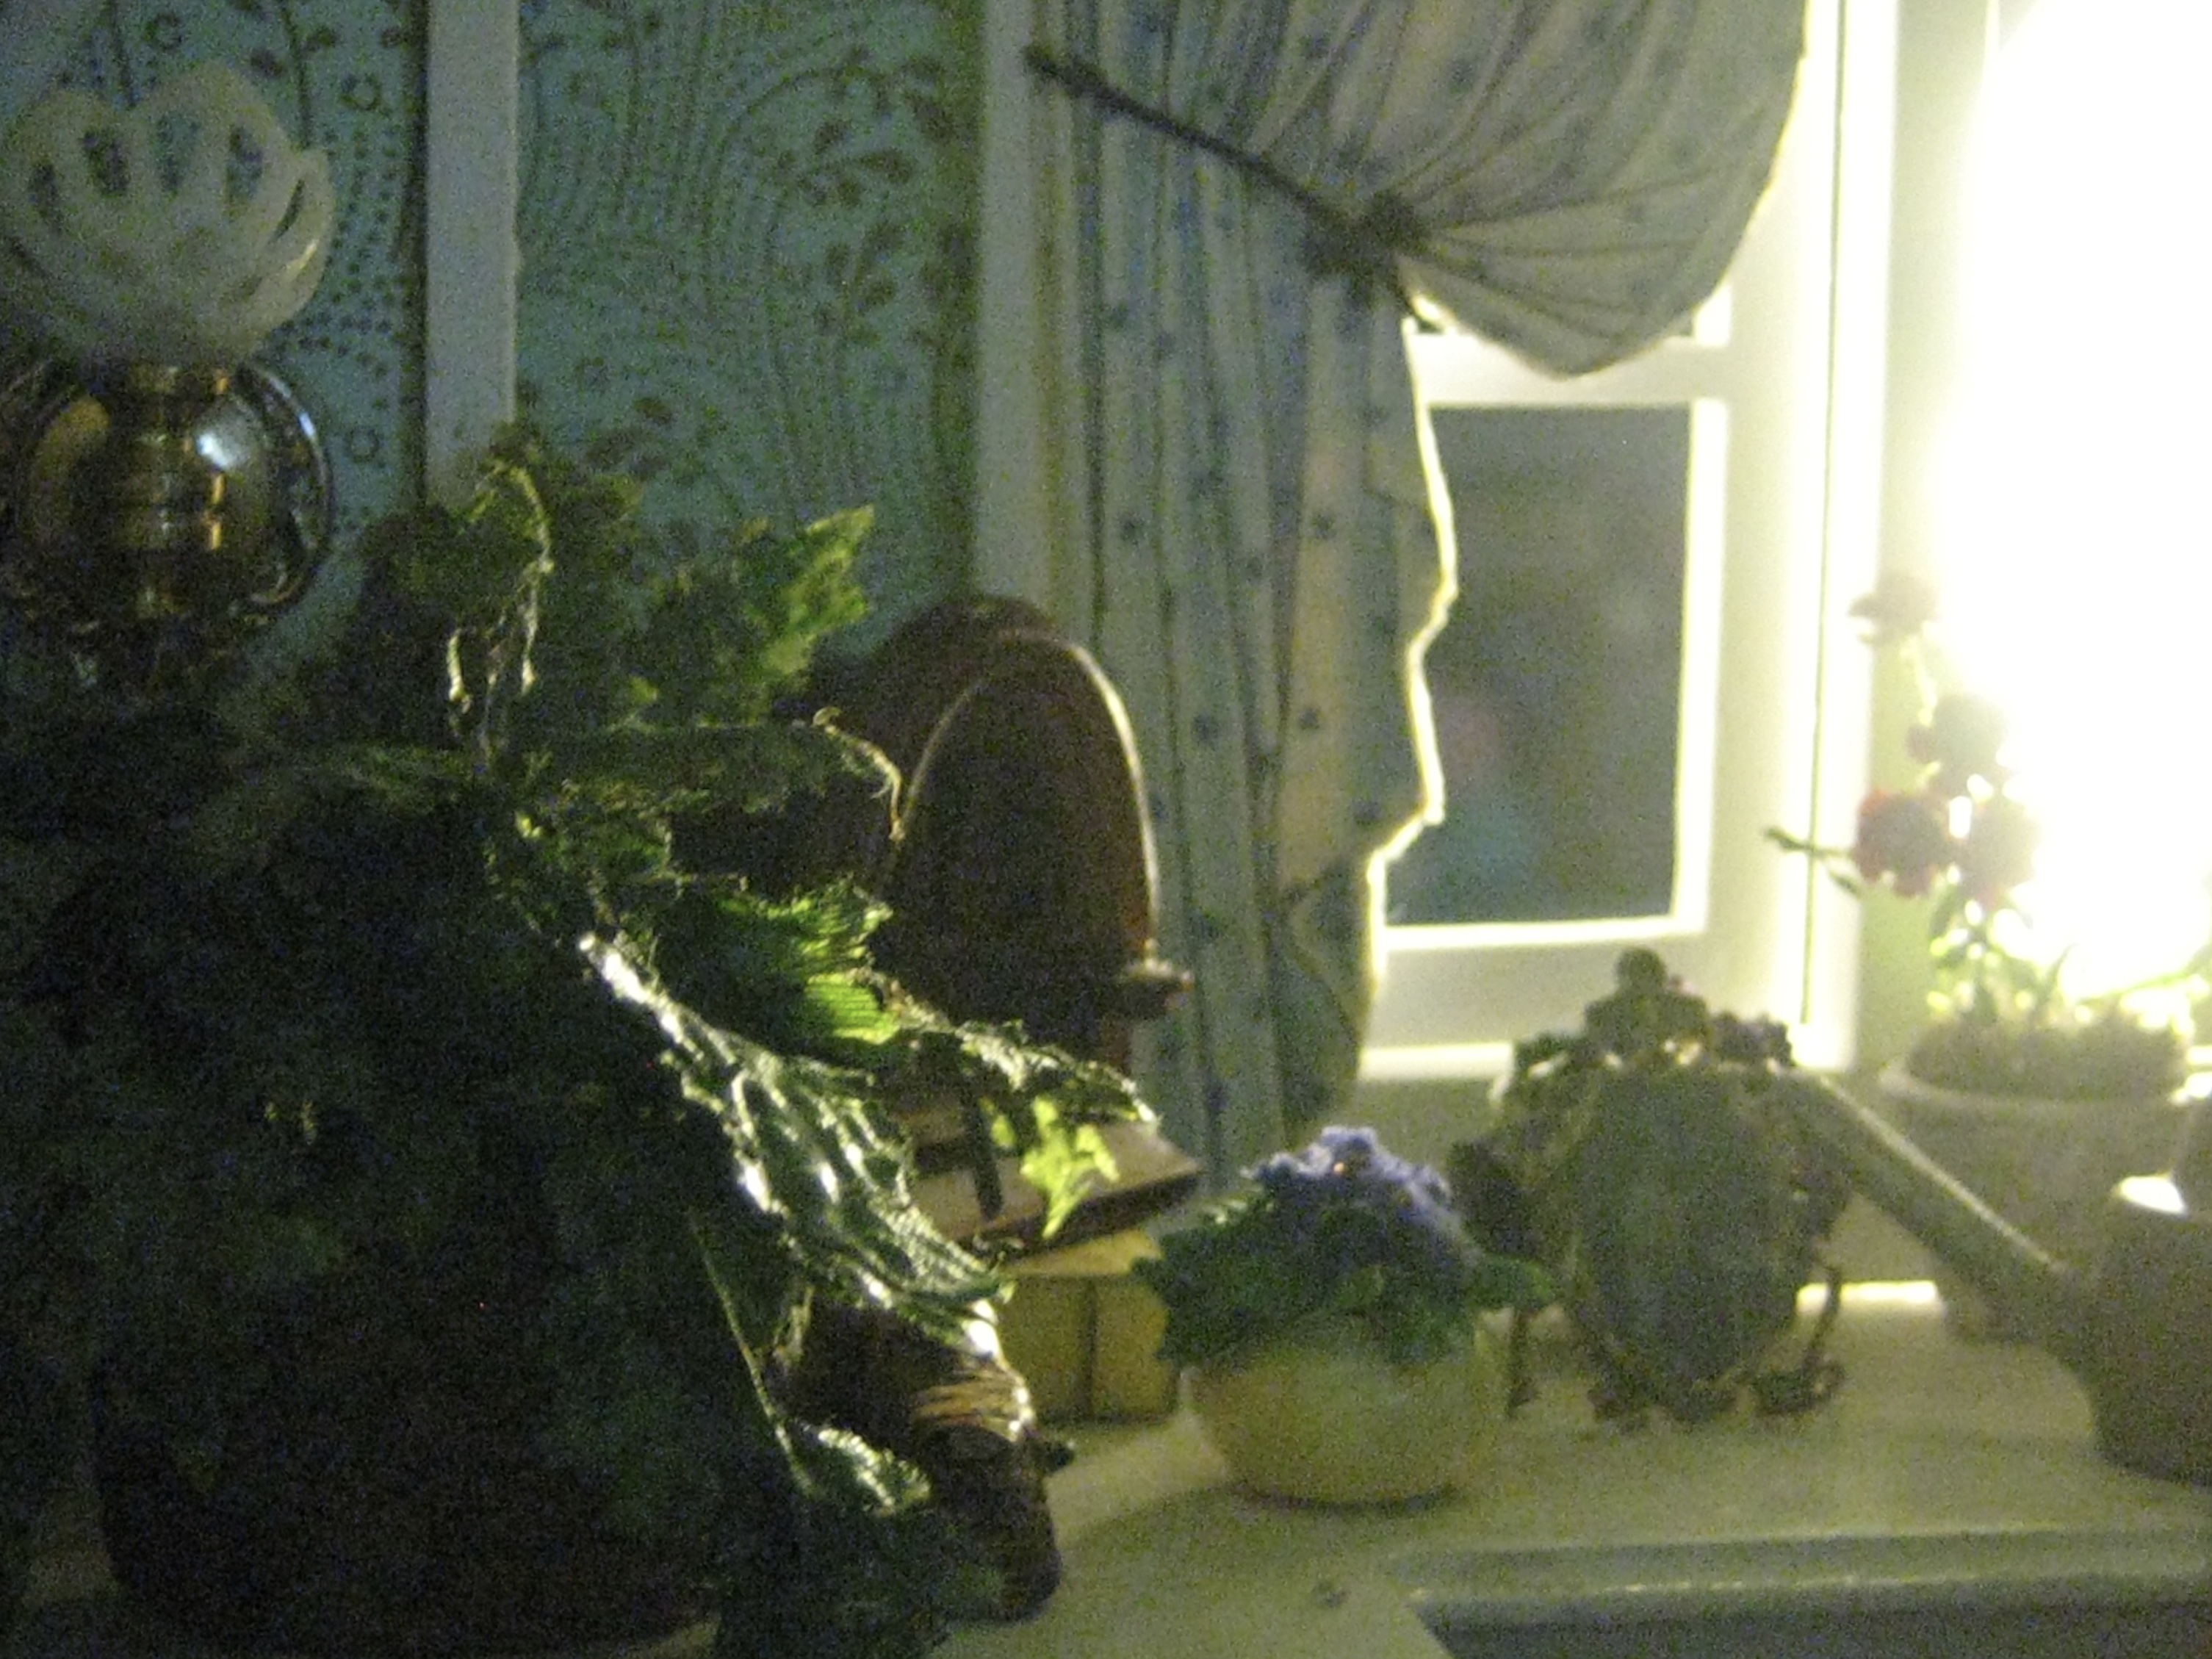
and speaking of the window... perhaps you've noticed that The window itself was modified. I removed the lower wooden crossbars from each side then I made 2 leaded glass panels as illustrated in my previous post- Part 2-The Dower House Living Room 2 nickel-plated necklace clasps became the window handles which you can barely see behind the aggressive palm fronds. |
 |
 |
|
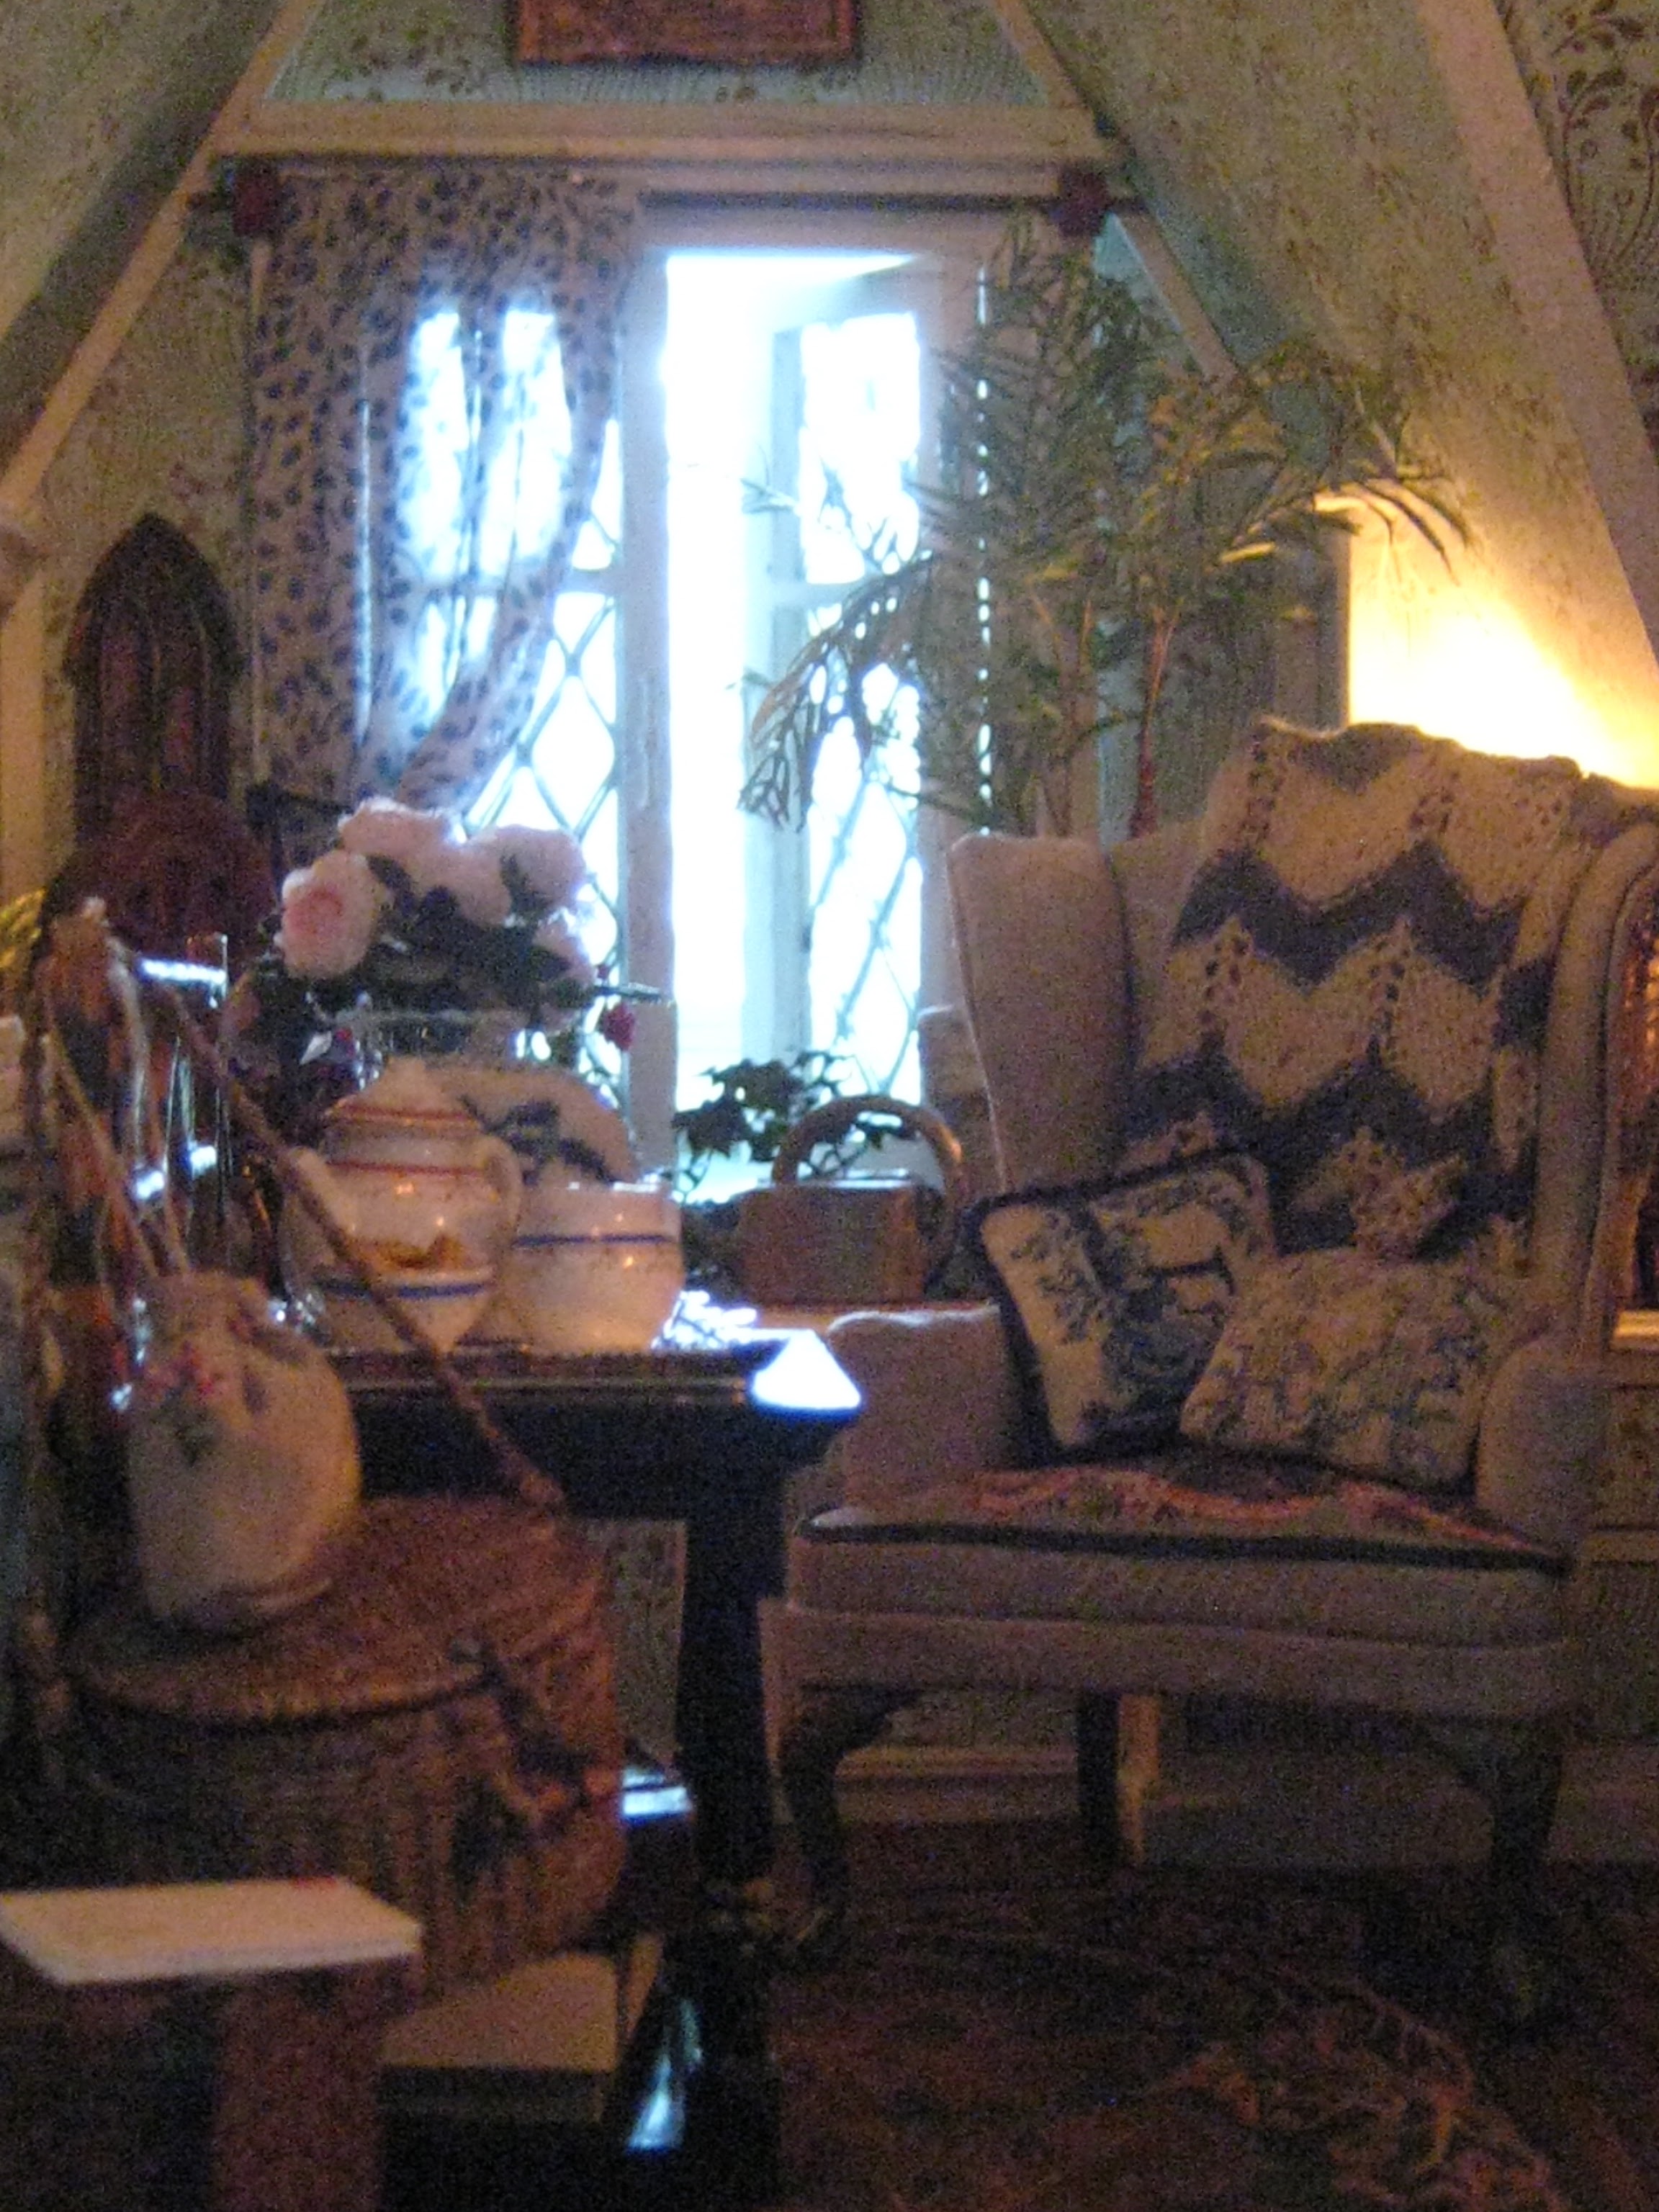
Tucked in under the eaves on the right side are the current lineup of books which will soon be replaced with a vintage series called GREAT EXPLORERS because who could resist such titles as "A Thousand Miles Up the Nile" or "The Dark Continent"? 🌍 how cool is THAT?😎 But I had to have a comfy chair for the Dowager to sit and read these ancient tales of daring do and/or a place to comfortably doze whilst listening to her favourite radio programs😴 |
 |
| enter- THE COMFY CHAIR |
 |
|
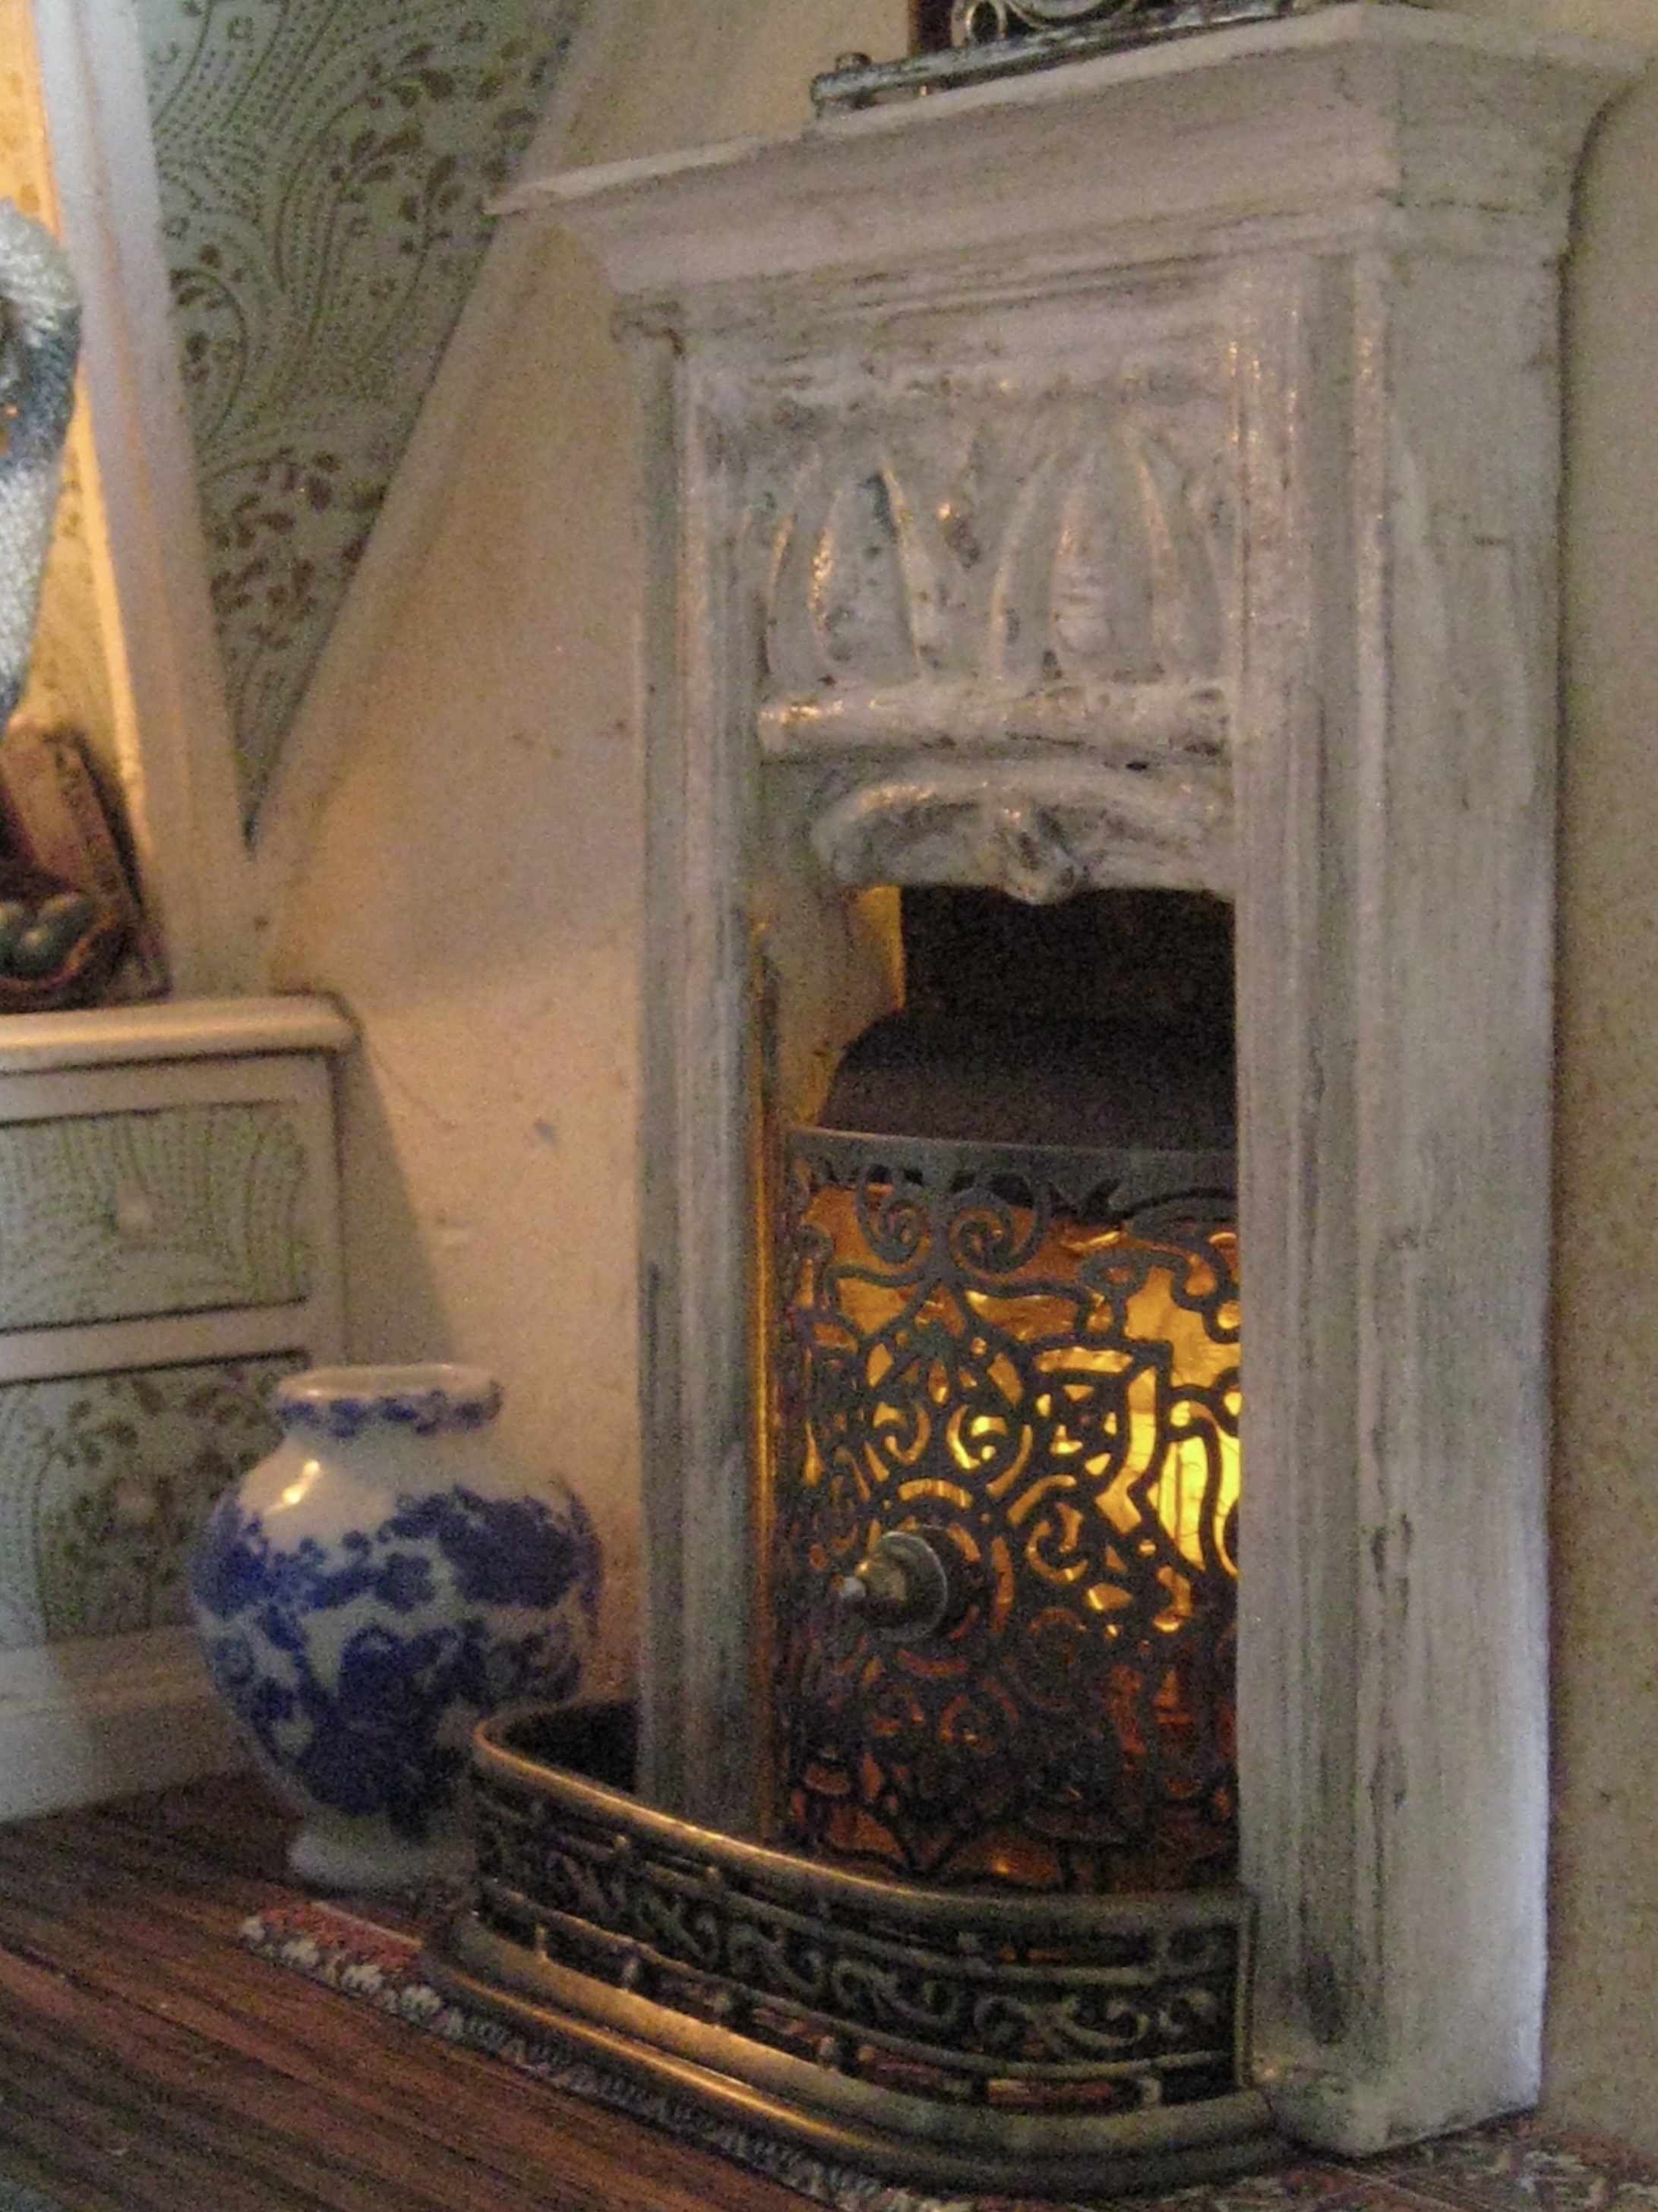
For the seat of Norma's armchair, I found a remnant of a an old carpet print which I cut to fit the top of the seat. I glued a bit of green gross grain trim to the scrap fabric then tucked the fabric topper in around the seat. A knitted throw was draped over the back of the chair and another FAB Linda Park Blue and White embroidered "E" CUSHION, along with needlework cushion from another long time friend PAM GRANT competed the seating. I know that there's a lot going on with this chair but it was done intentionally. I've looked at a lot of U.K. interiors and the Brits are not at all shy when it comes to mixing and matching patterns and ThIS Dowager isn't either! THE FIREPLACE I've already talked about the fireplace construction and you've already seen the wooden camels placed on either side of THE LITTLE DOLLHOUSE COMPANY mantle clock. To enhance it a bit, I painted the dials of the clock black then added a "glass cover" made from a large plastic goggly eye 👀  To light the firebox I did the following: |
 |
 | ||
I used a flickering tea light from the dollar store I had the end of a red plastic dollar store flexible arm light clip from which I removed the arm.  I painted the top of the clip with black chalk paint  I had piece of metal filigree from a pair of thrift store earrings, which was carefully shaped into a gentle curve then glued to the front of the plastic clip 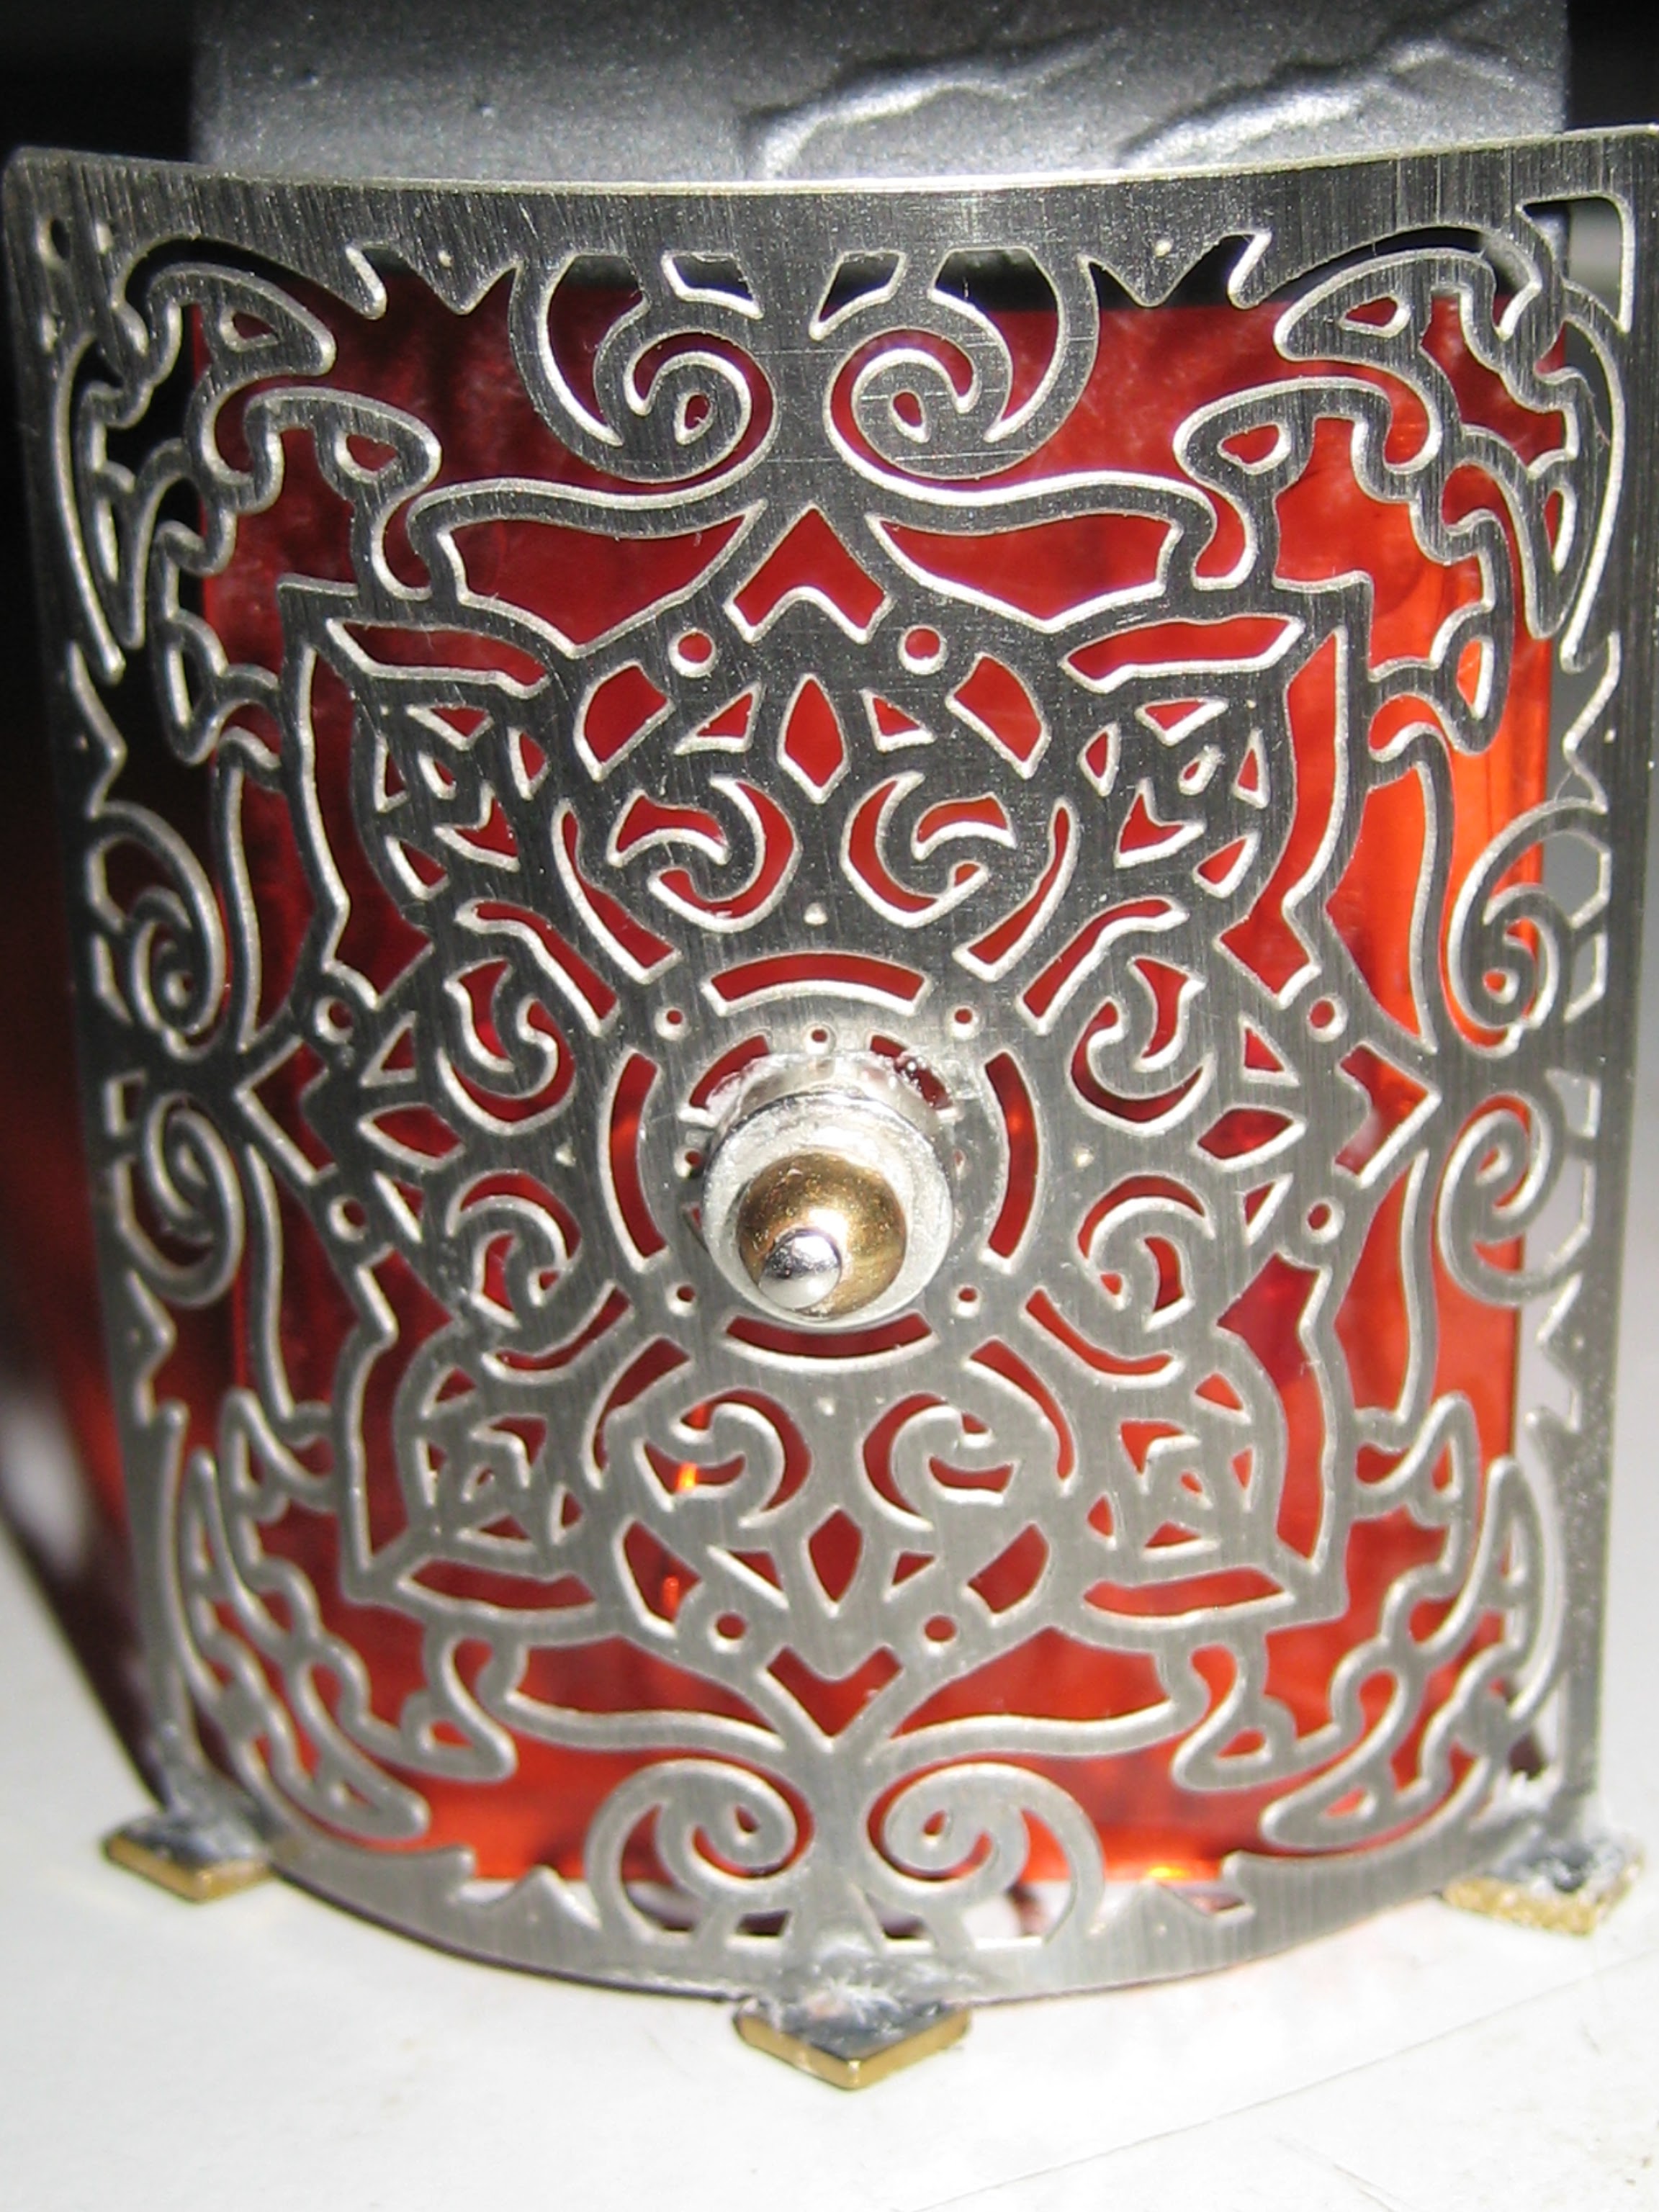  I placed the tea-light on its side and placed it inside the firebox followed by the metal-faced clip
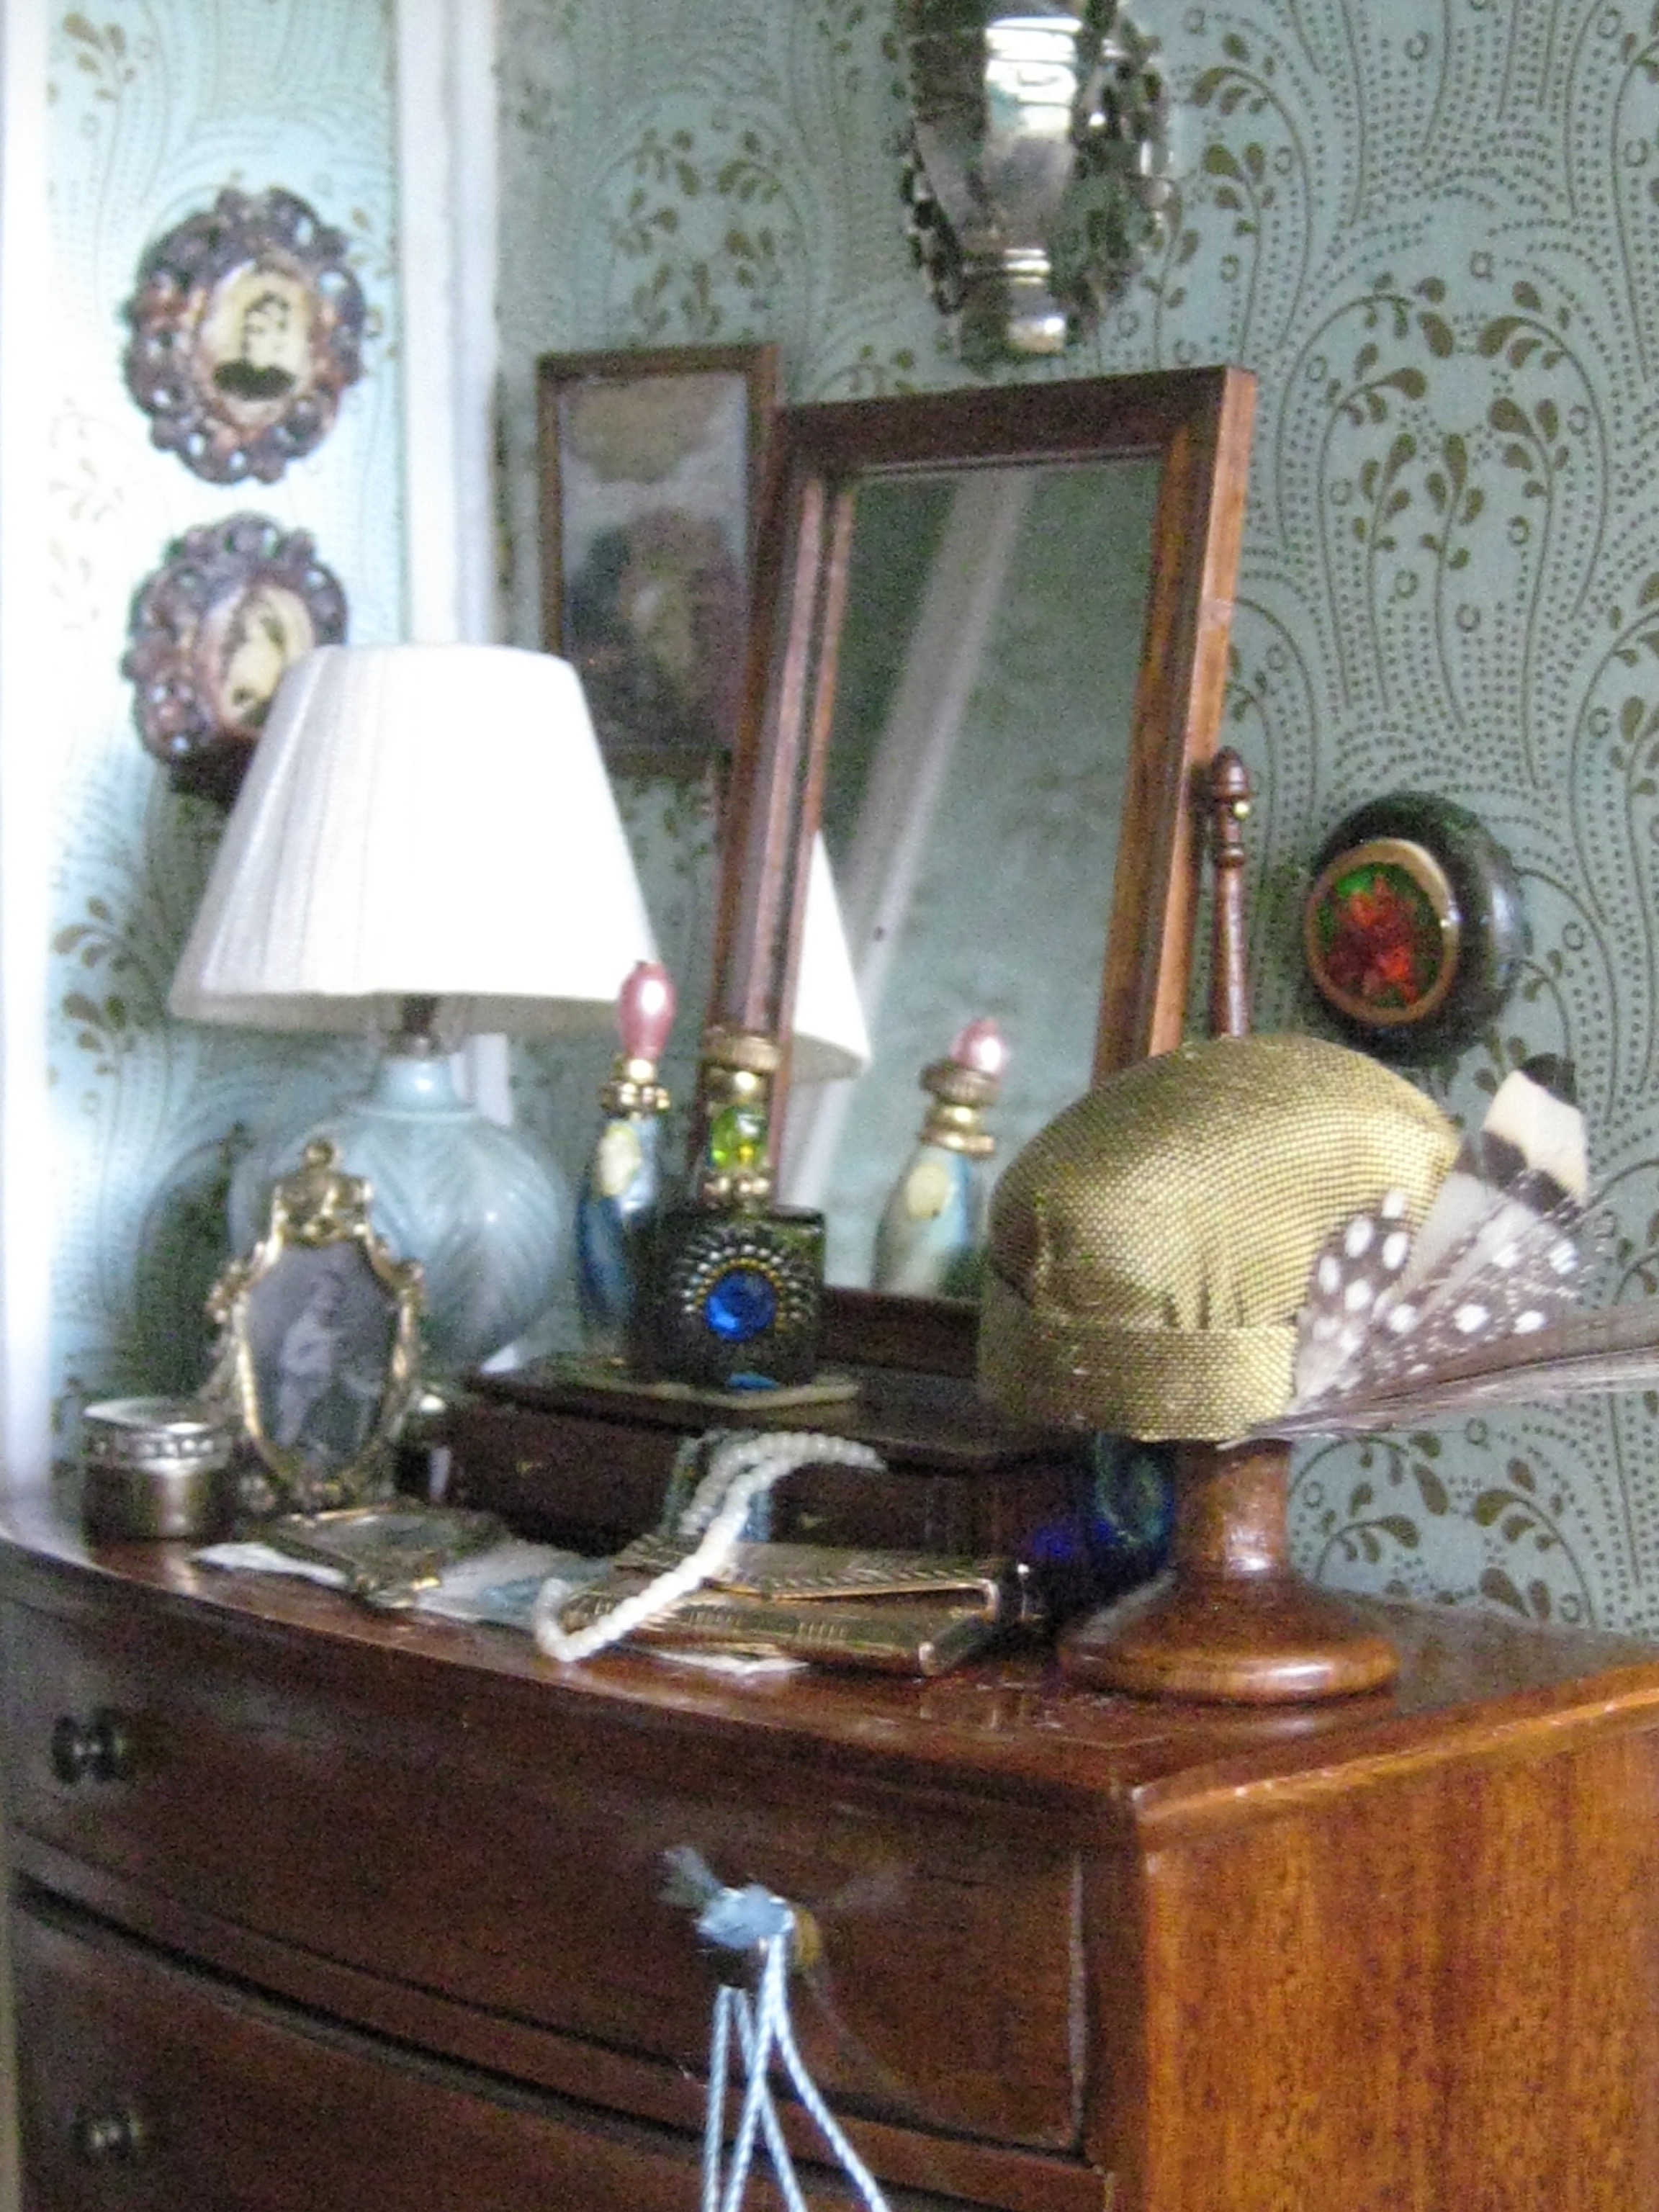
THE CHEST OF DRAWERS
|
 |
|
The Left side of the bedroom is very busy so I wanted the right side to be a lot quieter however I still wanted it to look interesting. The Artisan swivel mirror with a drawer was lucky find from RUBY LANE MINIATURES |
 |
| I used these tall skinny vintage looking perfume bottles I'd made to sit in front of the mirror, and draped 2 long necklaces to spill out of the drawer. |
 |
| The STYLISH FEATHERED HAT was another unexpected gift from Jonquil Norrie Latchkey and Jonquil and it falls right in with the era of the bedroom |
 |
| there's a nail buffer and a tortoise shell box |

 |
|
I hand-painted the CHRYSNBON VANITY SET in a tortoise shell finish but for the life of me, I can't remember how I did it! 😂 |
 |
| The doily runner was cut from a vintage hanky |
 |
 |
|
A BEAUTIFULLY embroidered silk handbag again another Amazing gift from JONQUIL Latchkey and Jonquil |
 |
|
close to midnight at the oasis |
The English slat-backed chair
is by Nicole Warton-Marble
but it will soon be replaced by an
Art Nouveaux side chair which has yet to arrive.

I LOVE this chair but the seat is really narrow
and I'm concerned that although
the Dowager might squeeze herself down into it
and I'm concerned that although
the Dowager might squeeze herself down into it
she might not get up out of it!
And I'm pretty sure that the local fire department
has more important things to rescue 😅
🚒---
 |
 In the photo above
you can see the narrow return of the wall
which hides the open stairwell.
For continuity,
I plastered the opposite side of the return
and installed a hand grip for the stairs.
Not that falling down them is even possible since they're so narrow
but
best to be safe than sorry!
BACK TO THE BED
we've ALMOST reached the end
|

 |
| There's TWO MORE AMAZING GIFTS TO SHOW: the first is the BIG SISTER to the little blue bag hanging on the dresser from Jonquil Norrie and the second is another gift from Linda Park of a FISHING CREEL made by LIDI STROUD BASKETCASE MINIATURES |
I was/AM
BLOWN AWAY
to have been on the receiving end of both these
BEAUTIES!
Initially I was going to save the creel for LAND'S END
but I think it works equally well, if not BETTER here!
And
the colour goes well with the silk purse
and the luggage
 |
|
and to borrow an expression of Fatima's: LOVE! LOVE! LOVE! 💗💖💗 |
|
| I can't decide yet if the Dowager is coming or going but the small travel case is stationed by her bed and at the ready. |
 |
| a small clutch and a pair of sunglasses are perched on top of her suitcase |

I think I bought this suitcase at our local miniature show but I can't recall when or from whom

 |
|
| A Final Tour Around the Room |
 |


 |
|
and we've reached our 🌴🌴🐪JOURNEY'S END🐫🌴🌴 elizabeth |